C/C++教程
centos8搭建 gitlab

准备工作
一台云服务器,最低配置为2gb内存,安装gitlab2gb是不够的,需要配置虚拟内存,虚拟内存设置为5gb即可
1.安装ssh
sudo yum install -y curl policycoreutils-python openssh-server
2.将SSH服务设置成开机自启动,安装命令:
sudo systemctl enable sshd
3.启动SSH服务,安装命令:sudo systemctl start sshd
4.安装防火墙 yum install firewalld systemd -y
5.开启防火墙:service firewalld start
6.添加http服务到firewalld,pemmanent表示永久生效,若不加--permanent系统下次启动后就会失效。
sudo firewall-cmd --permanent --add-service=http
7.重启防火墙:sudo systemctl reload firewalld
8.安装Postfix以发送通知邮件,安装命令:sudo yum install postfix
9.将postfix服务设置成开机自启动:sudo systemctl enable postfix
10.启动postfix:sudo systemctl start postfix
11.安装wget yum -y install wget
12.安装vim编辑器 安装命令:yum install vim -y
13.添加gitlab镜像
wget https://mirrors.tuna.tsinghua.edu.cn/gitlab-ce/yum/el8/gitlab-ce-13.11.1-ce.0.el8.x86_64.rpm
14.安装gitlab rpm -i gitlab-ce-13.11.1-ce.0.el8.x86_64.rpm
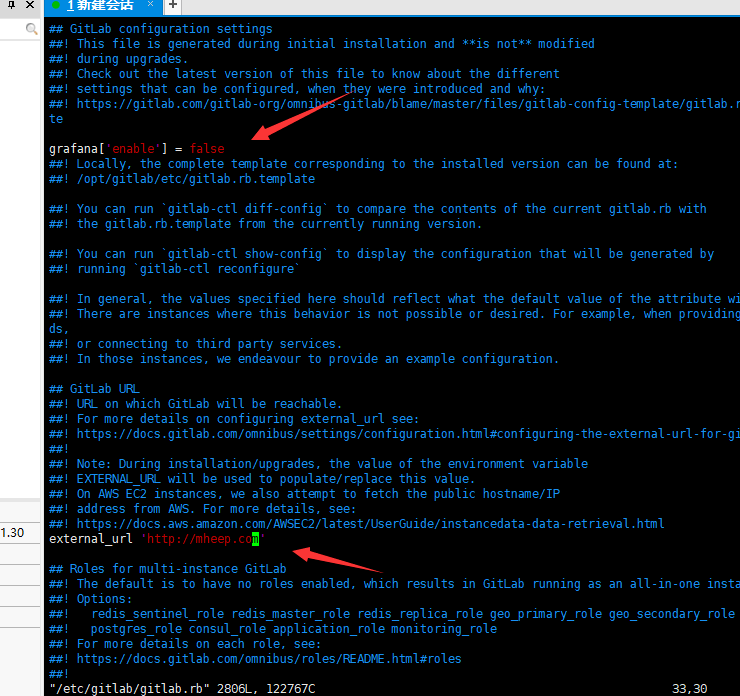
15.修改gitlab配置文件指定服务器ip和自定义端口:
vim /etc/gitlab/gitlab.rb
加上第一句,修改第二句为你的服务器ip
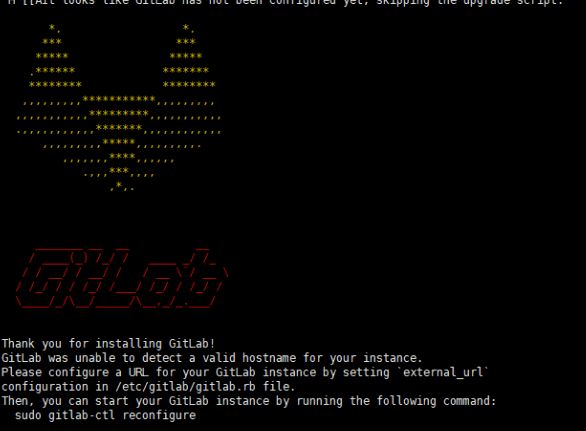
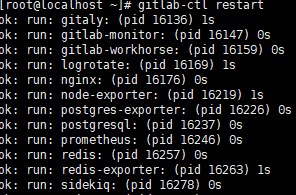
16.重置并启动GitLab
gitlab-ctl reconfigure
gitlab-ctl restart
出现ok:run表示启动成功
17.创建public key
ssh-keygen
一直回车
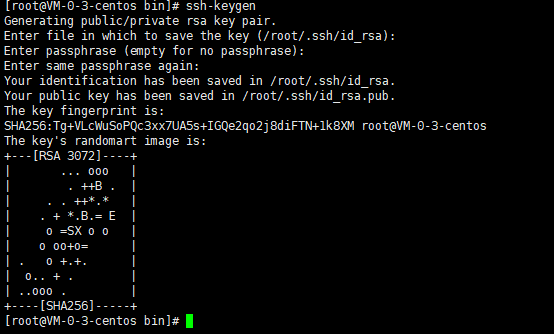
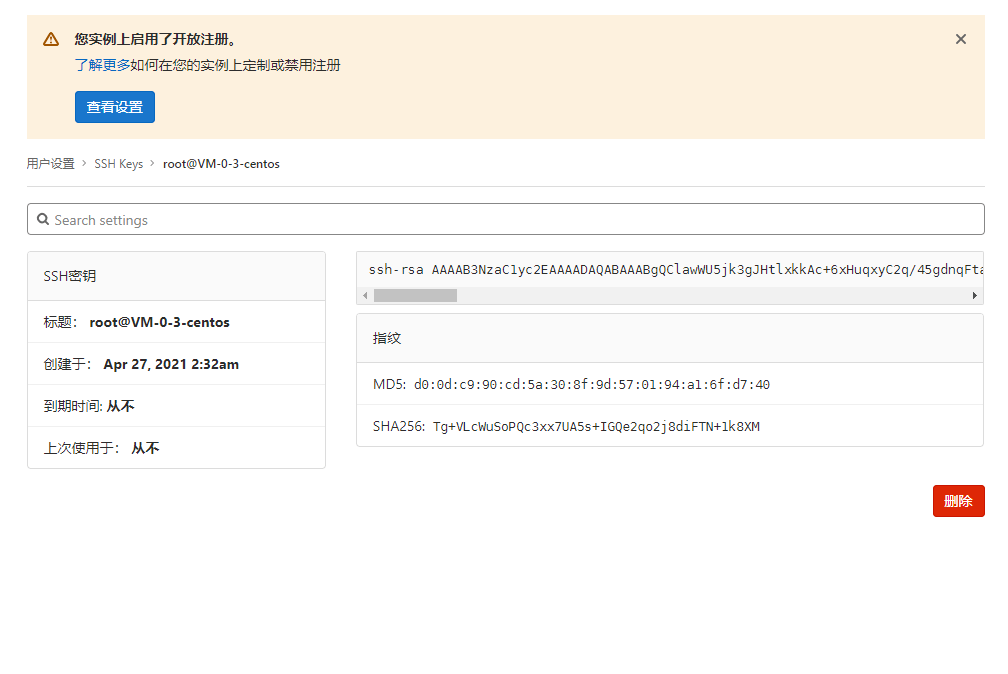
18.复制id_rsa.pub公钥
cat ~/.ssh/id_rsa.pub
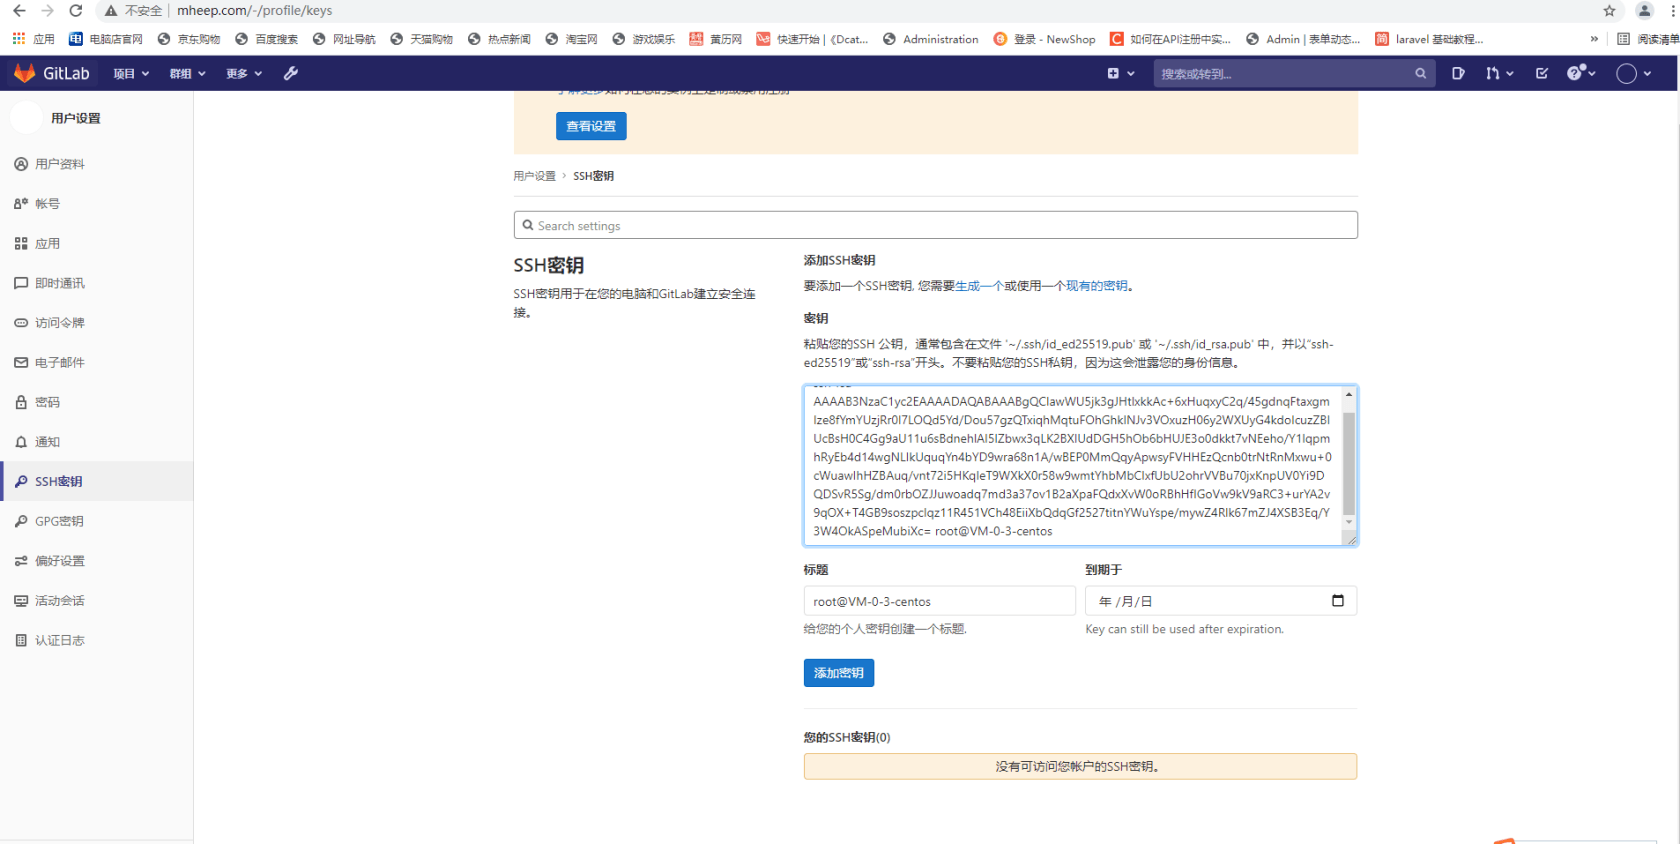
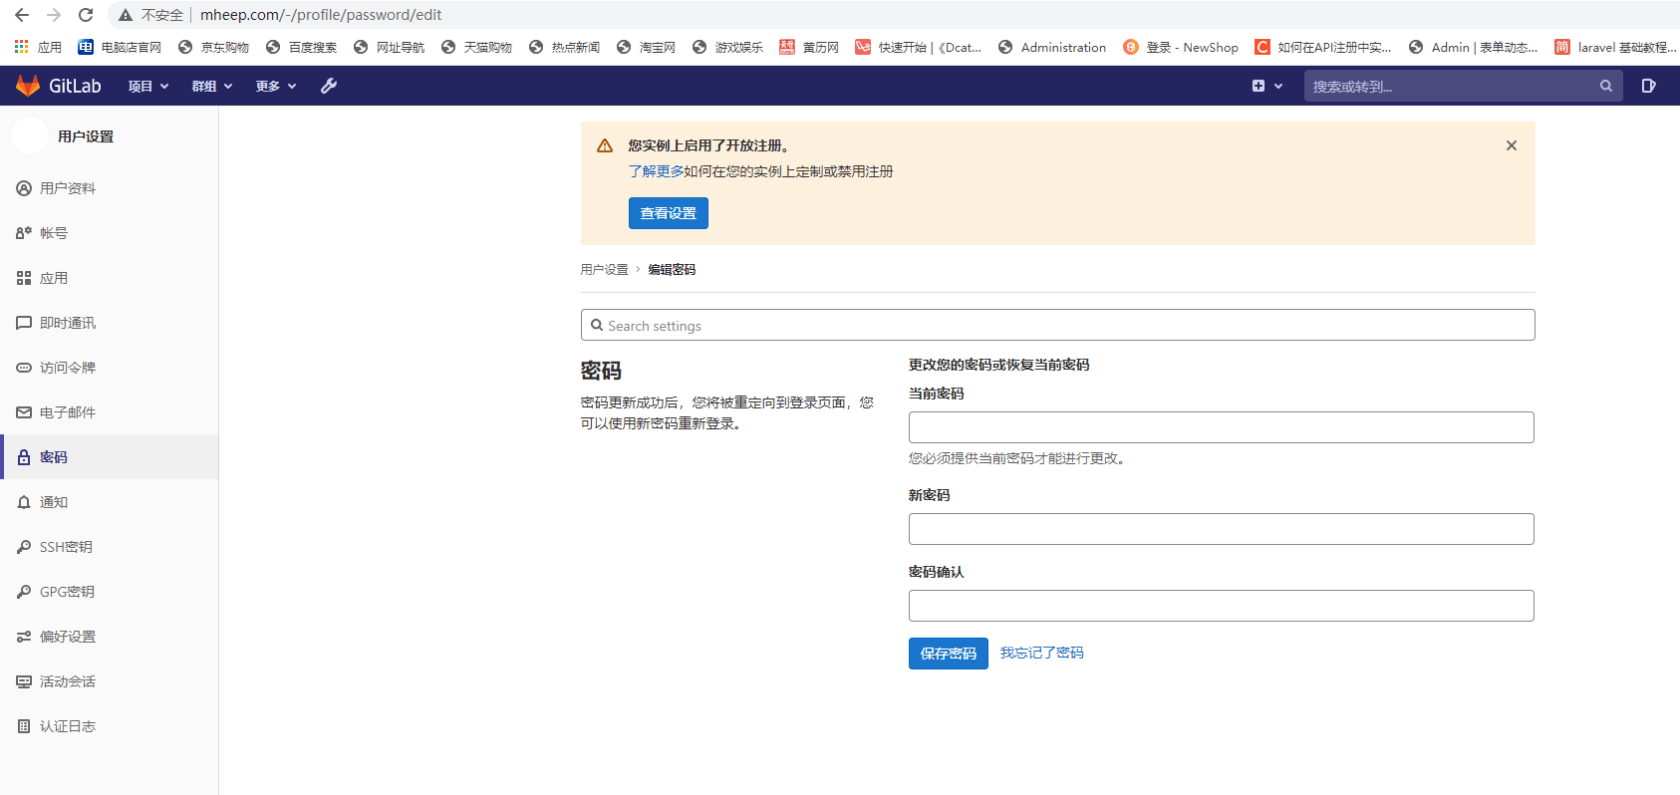
注意:第一次进入gitlab需要更改密码,此刻你随便改,改完退出也进不去的 所以赶紧去个人设置里面再去改密码,这时候,就可以用新改的密码登陆gitlab
-
增量更新怎么做?-icode9专业技术文章分享11-23
-
压缩包加密方案有哪些?-icode9专业技术文章分享11-23
-
用shell怎么写一个开机时自动同步远程仓库的代码?-icode9专业技术文章分享11-23
-
webman可以同步自己的仓库吗?-icode9专业技术文章分享11-23
-
在 Webman 中怎么判断是否有某命令进程正在运行?-icode9专业技术文章分享11-23
-
如何重置new Swiper?-icode9专业技术文章分享11-23
-
oss直传有什么好处?-icode9专业技术文章分享11-23
-
如何将oss直传封装成一个组件在其他页面调用时都可以使用?-icode9专业技术文章分享11-23
-
怎么使用laravel 11在代码里获取路由列表?-icode9专业技术文章分享11-23
-
怎么实现ansible playbook 备份代码中命名包含时间戳功能?-icode9专业技术文章分享11-22
-
ansible 的archive 参数是什么意思?-icode9专业技术文章分享11-22
-
ansible 中怎么只用archive 排除某个目录?-icode9专业技术文章分享11-22
-
exclude_path参数是什么作用?-icode9专业技术文章分享11-22
-
微信开放平台第三方平台什么时候调用数据预拉取和数据周期性更新接口?-icode9专业技术文章分享11-22
-
uniapp 实现聊天消息会话的列表功能怎么实现?-icode9专业技术文章分享11-22
