Java教程
docker及tomcat 部署java项目

前言
上一篇介绍了如何在Centos中安装docker和portainer,还没安装好的的小伙伴可以看一下:
docker、portainer安装
安装tomcat
1、拉取tomcat
先搜索tomcat,然后拉取tomcat。
docker search tomcat
docker pull tomcat:9
查看镜像
docker images

看到上图中tomcat即拉取成功。
2、运行tomcat
docker run -d -p 8080:8080 --name tomcat-test tomcat:9.0
解释:
-d : 后台方式运行
-p : 第一个8080是系统端口,即外部可以通过8080端口连接系统
第二个端口是容器的端口,这样外部才能通过服务器访问容器
--name : 容器名称,可以自定义
tomcat:9.0 指定镜像
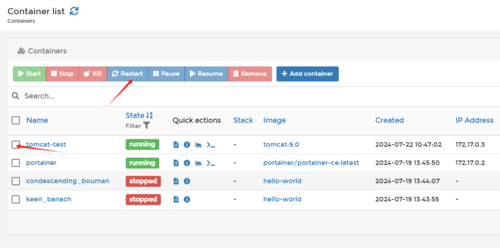
查看容器
dockers ps

此时我们能看到tomcat容器已经运行了。
3、访问tomcat
如果是外部服务器,访问前需要先关闭防火墙或者开放8080端口。
在浏览器中访问:http://ip:8080,出现如下页面。
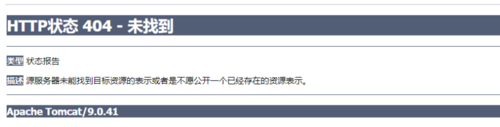
这是因为dokcer在安装tomcat的时候把webapps中的文件都放在了webapps.dist里面了。所以我们需要将文件再复制回webapps。

先进入容器,再复制文件
docker exec -it tomcat-test /bin/bash
cp -r webapps.dist/* webapps
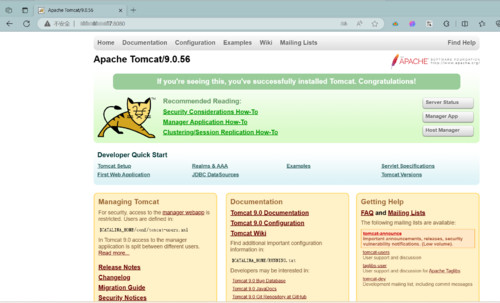
完成上述命令后,重新访问http://ip:8080。就能看到熟悉的界面了。
配置目录映射
目录映射是将容器中的目录和物理机的目录绑定,方便后续文件上传和修改配置。
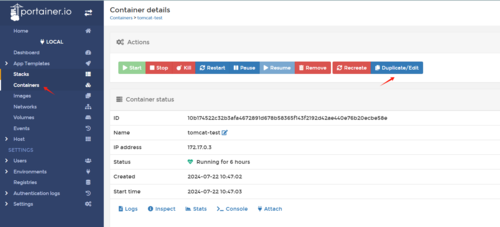
我们通过docker的portainer进行目录绑定。进入portainer后,点击Containers,选择tomcat-test,点击Duplicate/Edit。
然后下拉页面,找到Volumes并进入。

点击map additional volume,点击Bind。其中container是容器的路径,host是物理机的路径。图中host地址可以自定义。注意,绑定host前,一定要先把对应的文件夹或者文件建出来。我使用的是xshell的文件传输工具。
解释一下图中的配置:
/user/local/tomcat/webapps : tomcat的配置文件和后续项目存放的地方
/usr/local/tomcat/logs : 方便后续查看日志
/usr/local/tomcat/conf/tomcat-users.xml : manageApp账户配置文件。如果不需要管理页面可以不配置
按上图配置好后,点击Deploy the container按钮,保存并重启容器。
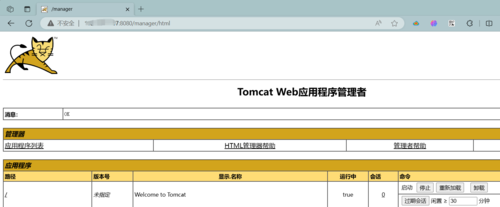
配置manageApp
如果我们直接进入tomcat管理页面(http://ip:8080/manager/html)会报错:403 Access Denied,这是因为tomcat manage默认只允许本机访问,如果想通过外部访问需要修改配置并添加账号。
因为我们已经做好了tomcat的目录映射,所以我们只要在物理机中修改配置就可以了。
需要修改的地方有两个
a. context.xml
路径:/home/tomcat-test/webapps/manager/META-INF 这只是示例,以volumes中绑定的路径为准
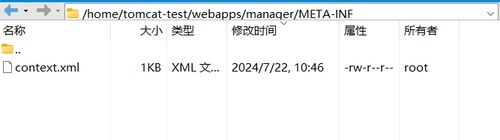
将context.xml中<Value ... />注释掉。详情内容如下:
<?xml version="1.0" encoding="UTF-8"?>
<!--
  Licensed to the Apache Software Foundation (ASF) under one or more
  contributor license agreements.  See the NOTICE file distributed with
  this work for additional information regarding copyright ownership.
  The ASF licenses this file to You under the Apache License, Version 2.0
  (the "License"); you may not use this file except in compliance with
  the License.  You may obtain a copy of the License at

      http://www.apache.org/licenses/LICENSE-2.0

  Unless required by applicable law or agreed to in writing, software
  distributed under the License is distributed on an "AS IS" BASIS,
  WITHOUT WARRANTIES OR CONDITIONS OF ANY KIND, either express or implied.
  See the License for the specific language governing permissions and
  limitations under the License.
-->
<Context antiResourceLocking="false" privileged="true" >
  <CookieProcessor className="org.apache.tomcat.util.http.Rfc6265CookieProcessor"
                   sameSiteCookies="strict" />
  <!--<Valve className="org.apache.catalina.valves.RemoteAddrValve"
         allow="127\.\d+\.\d+\.\d+|::1|0:0:0:0:0:0:0:1" />-->
  <Manager sessionAttributeValueClassNameFilter="java\.lang\.(?:Boolean|Integer|Long|Number|String)|org\.apache\.catalina\.filters\.CsrfPreventionFilter\$LruCache(?:\$1)?|java\.util\.(?:Linked)?HashMap"/>
</Context>
b. tomcat-users.xml
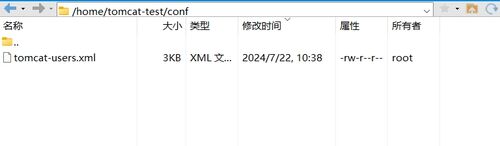
添加如下代码:
  <role rolename="tomcat"/>
 <role rolename="manager-gui"/>
  <role rolename="role1"/>
  <user username="admin" password="admin" roles="tomcat,manager-gui"/>
</tomcat-users>
然后重启容器。
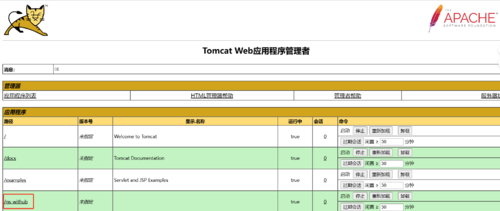
重新进入管理页面,输入账号密码即可。
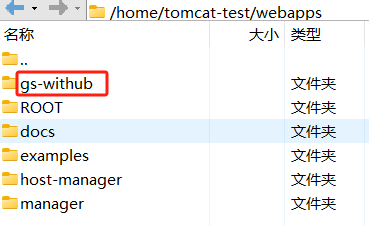
部署项目
前面的准备工作完成后,部署项目就成了最简单的一步了。将项目打包好,然后通过xshell的文件传输工具放到webapps目录下,tomcat便会自动识别到项目。
-
有哪些好用的家政团队管理工具?01-11
-
营销人必看的GTM五个指标01-11
-
办公软件在直播电商前期筹划中的应用与推荐01-11
-
提升组织效率:上级管理者如何优化跨部门任务分配01-11
-
酒店精细化运营背后的协同工具支持01-11
-
跨境电商选品全攻略:工具使用、市场数据与选品策略01-11
-
数据驱动酒店管理:在线工具的核心价值解析01-11
-
cursor试用出现:Too many free trial accounts used on this machine 的解决方法01-11
-
百万架构师第十四课:源码分析:Spring 源码分析:深入分析IOC那些鲜为人知的细节|JavaGuide01-11
-
不得不了解的高效AI办公工具API01-11
-
2025 蛇年,J 人直播带货内容审核团队必备的办公软件有哪 6 款?01-10
-
高效运营背后的支柱:文档管理优化指南01-10
-
年末压力山大?试试优化你的文档管理01-10
-
跨部门协作中的进度追踪重要性解析01-10
-
总结 JavaScript 中的变体函数调用方式01-10
