云计算
Nomad 系列-安装
系列文章
- Nomad 系列文章
Nomad 简介
开新坑!近期算是把自己的家庭实验室环境初步搞好了,终于可以开始进入正题研究了。
首先开始的是 HashiCorp Nomad 系列,欢迎阅读。
关于 Nomad 的简介,之前在 大规模 IoT 边缘容器集群管理的几种架构-2-HashiCorp 解决方案 Nomad 有提到过,这里再快速过一遍:
Nomad: 一个简单而灵活的(主要是容器,但有不至于容器的)调度器和编排器,可在内部和云端大规模部署和管理容器和非容器化的应用程序
Nomad 使开发者能够使用声明式的基础设施即代码来部署应用程序。Nomad 使用 bin packing 来有效地安排工作并优化资源利用。
Nomad 凭借其简单性、灵活性、可扩展性和高性能与相关工具区分开来。Nomad 的协同作用和整合点 HashiCorp Terraform、Consul 和 Vault 使其特别适合轻松集成到 组织的现有工作流程,最大限度地减少关键计划的上市时间。
Nomad 一些特性
- Nomad 与 Consul 及 K8s 略有不同,它将基础设施划分为由一个 Nomad 服务器集群服务的区域,但可以管理多个数据中心或可用性区域。
- Nomad 客户端到其服务器的延迟可能超过 100 毫秒。这允许具有一组 Nomad 服务器,所述 Nomad 服务器在具有单个“全球”区域和多个数据中心的情况下服务可以在地理上分布在一个大陆甚至世界上的所有客户端。
Nomad 安装
Nomad 是一个预编译的二进制文件,也可以作为几个操作系统的包。这次我们通过包管理器来安装。
以 Ubuntu/Deiban 为例:
前提条件
- root 权限
- IPtables 功能完整
- Docker 已安装
🐾Warning
请注意,如果您在 Linux 上运行 Nomad,则需要以 root 身份(或使用 sudo )运行客户端 Agent,以便 cpuset accounting 和网络名称空间正常工作。
通过 APT 安装
首先安装所需的软件包:
sudo apt-get update && \
  sudo apt-get install wget gpg coreutils
其次添加 HashiCorp GPG 密钥:
wget -O- https://apt.releases.hashicorp.com/gpg | sudo gpg --dearmor -o /usr/share/keyrings/hashicorp-archive-keyring.gpg
添加官方 HashiCorp Linux 存储库:
echo "deb [signed-by=/usr/share/keyrings/hashicorp-archive-keyring.gpg] https://apt.releases.hashicorp.com $(lsb_release -cs) main" | sudo tee /etc/apt/sources.list.d/hashicorp.list
更新并安装:
sudo apt-get update && sudo apt-get install nomad
通过 APT 安装,Nomad 会自动配置为 systemd 服务。可以设置为自启动:
sudo systemctl enable nomad
安装后步骤 - 安装 CNI 插件
这些步骤被认为是可选的,但对于运行 Nomad 和利用其他 Nomad 功能很有帮助。
当使用 bridge 网络模式时,Nomad 使用 CNI 插件配置网络名称空间。所有使用网络命名空间的 Linux Nomad 客户端节点都必须安装 CNI 插件。
以下命令安装 CNI 参考插件:
curl -L -o cni-plugins.tgz "https://github.com/containernetworking/plugins/releases/download/v1.3.0/cni-plugins-linux-$( [ $(uname -m) = aarch64 ] && echo arm64 || echo amd64)"-v1.3.0.tgz && \
  sudo mkdir -p /opt/cni/bin && \
  sudo tar -C /opt/cni/bin -xzf cni-plugins.tgz
确保 Linux 操作系统发行版已配置为允许通过网桥网络的容器流量通过 iptables 进行路由。这些可调参数可按如下方式设置:
echo 1 | sudo tee /proc/sys/net/bridge/bridge-nf-call-arptables && \
  echo 1 | sudo tee /proc/sys/net/bridge/bridge-nf-call-ip6tables && \
  echo 1 | sudo tee /proc/sys/net/bridge/bridge-nf-call-iptables
要在启动客户端节点时保留这些设置,请将包含以下内容的文件添加到 /etc/sysctl.d/bridge.conf:
net.bridge.bridge-nf-call-arptables = 1
net.bridge.bridge-nf-call-ip6tables = 1
net.bridge.bridge-nf-call-iptables = 1
验证安装
要验证 Nomad 是否正确安装,请尝试 nomad 命令:
$ nomad version
Nomad v1.6.1
BuildDate 2023-07-21T13:49:42Z
Revision 515895c7690cdc72278018dc5dc58aca41204ccc
配置
📝Notes
我们不以 dev 模式启动 nomad.
Nomad 分为 Nomad Server 和 Nomad Client. 此次安装为:
- 1 个 Nomad Server(仅 Server, 同一节点不启动 Client)
- 多个 Nomad Client
某些配置设置对于服务器和客户端 Nomad Agent 来说是通用的,而某些配置设置必须仅存在于其中一个或另一个上。
Nomad 通用配置
在 /etc/nomad.d/nomad.hcl 创建配置文件:
sudo mkdir --parents /etc/nomad.d
sudo chmod 700 /etc/nomad.d
sudo touch /etc/nomad.d/nomad.hcl
将此配置添加到 nomad.hcl 配置文件:
🐾Warning:
根据您的情况,将 datacenter 参数值替换为部署 Nomad 集群的数据中心的标识符。
datacenter = "dc1"
data_dir = "/opt/nomad"
datacenter-运行 Agent 的数据中心data_dir- Agent 存储状态的数据目录
Server 配置
在 /etc/nomad.d/server.hcl 创建配置文件:
sudo touch /etc/nomad.d/server.hcl
将此配置添加到 server.hcl 配置文件:
🐾Warning:
将 bootstrap_expect 值替换为您正在部署的 Nomad 服务器数量;建议三到五个。
我这里是家庭实验室环境,1 个就够用了。
server {
  enabled = true
  bootstrap_expect = 1
}
此 server 节包含以下参数:
enabled-指定此 Agent 是否应以服务器模式运行。所有其他服务器选项取决于设置的此值。bootstrap_expect-集群中预期的服务器数量。不提供此值,或者此值必须与群集中的服务器数量一致。
Client 配置
在 /etc/nomad.d/client.hcl 创建配置文件:
sudo touch /etc/nomad.d/client.hcl
将此配置添加到 client.hcl 配置文件:
client {
  enabled = true
  servers = ["192.168.2.1"]
}
此 client 节包含以下参数:
enabled-指定此 Agent 是否应在客户端模式下运行。所有其他客户端选项都取决于此值的设置。servers- Nomad Servers 地址列表
🐾Warning:
该配置未进行安全加固。没有配置 ACL 以及 TLS.
启动
sudo systemctl start nomad
sudo systemctl status nomad
❯ sudo systemctl status nomad
● nomad.service - Nomad
   Loaded: loaded (/usr/lib/systemd/system/nomad.service; enabled; vendor preset: enabled)
   Active: active (running) since Sat 2023-08-26 11:15:11 CST; 11h ago
     Docs: https://nomadproject.io/docs/
 Main PID: 1648 (nomad)
    Tasks: 13
   CGroup: /system.slice/nomad.service
           └─1648 /usr/bin/nomad agent -config /etc/nomad.d
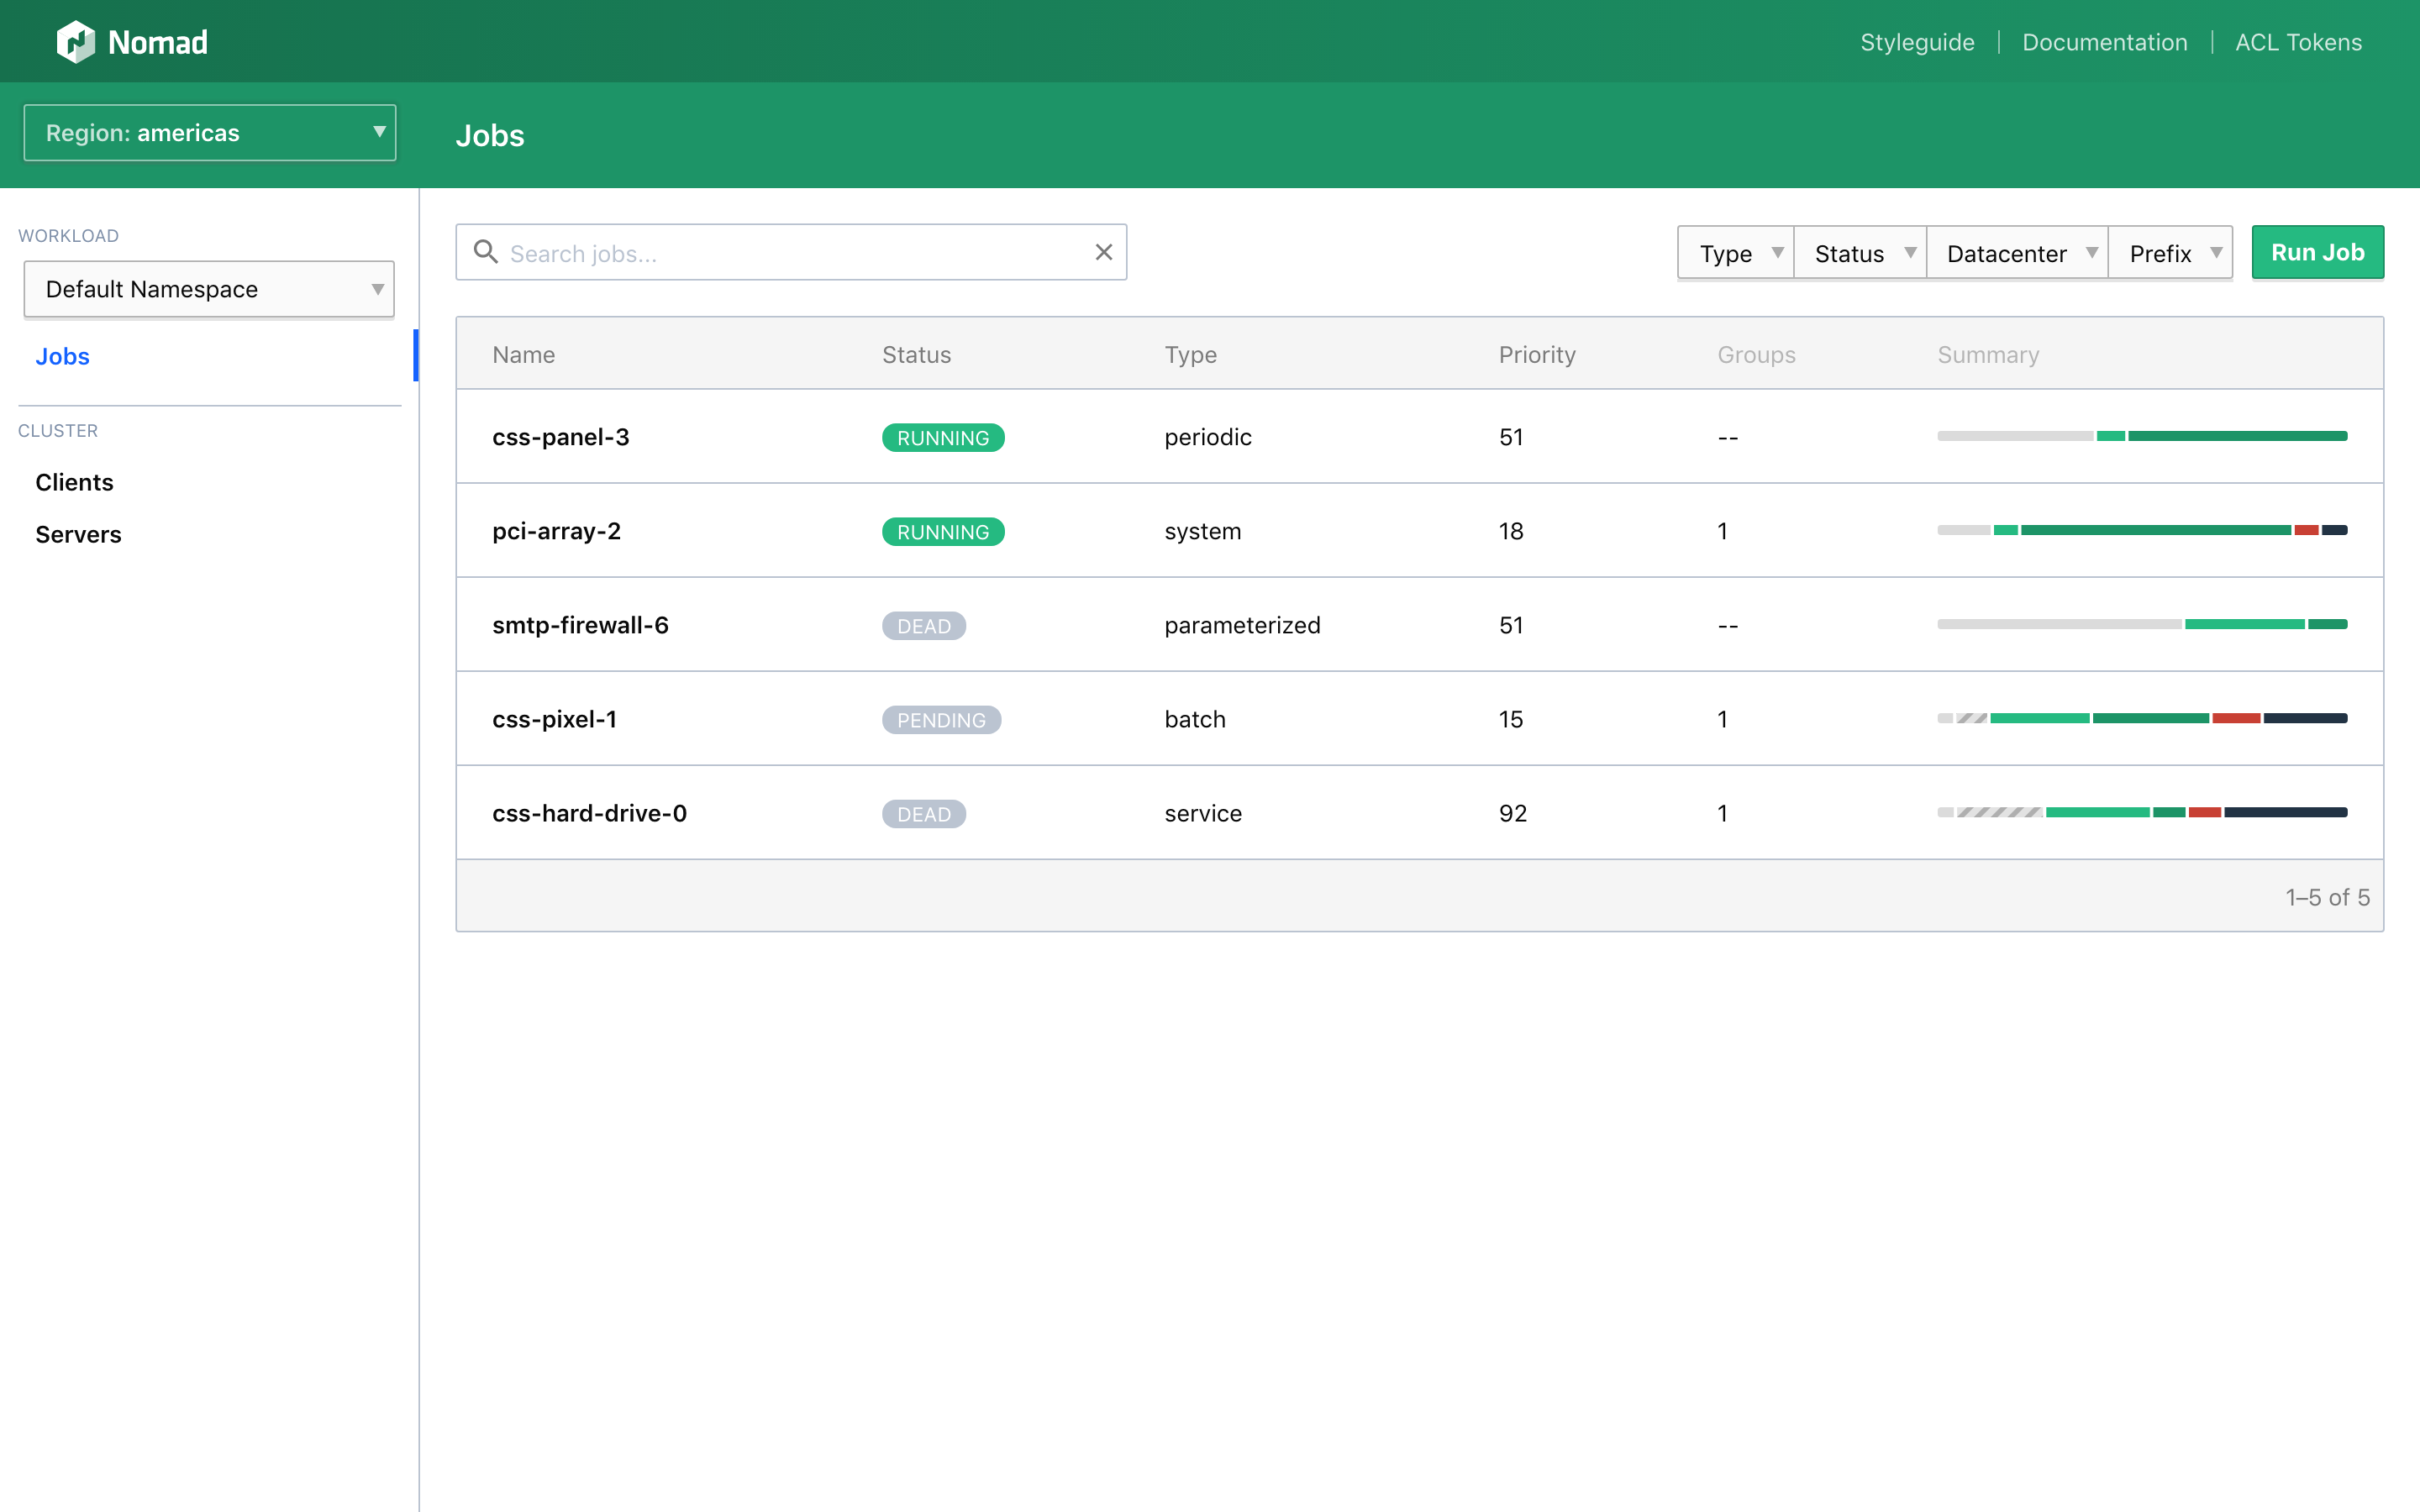
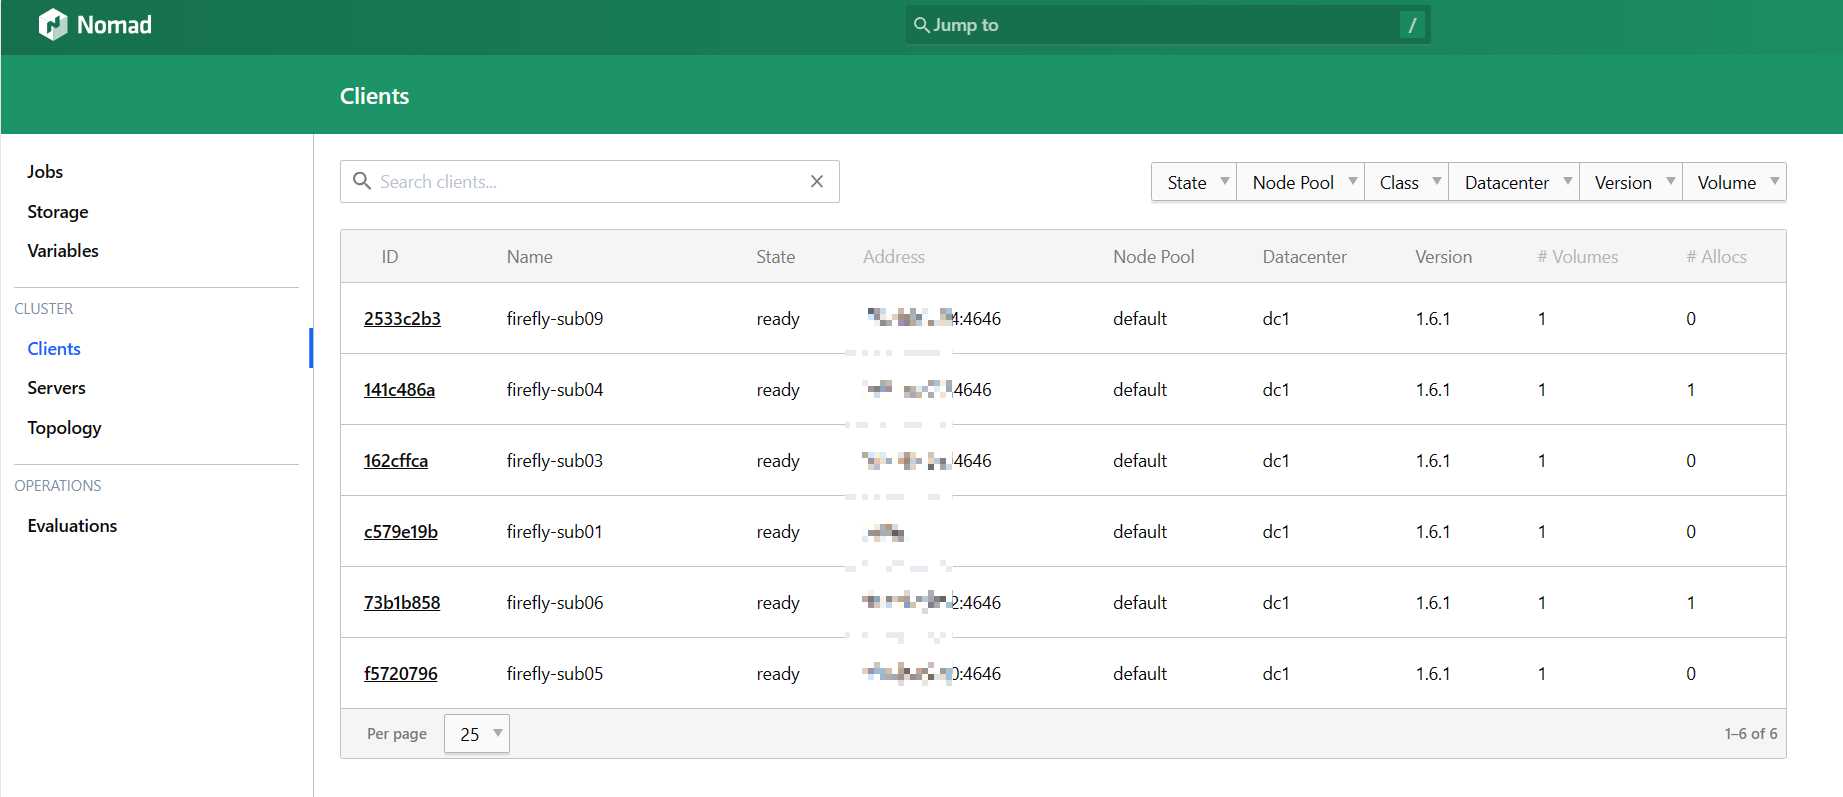
至此 Nomad 的 Server 和 Client 启动完毕,可以通过 http://<server_ip>:4646 进行访问。如下:
🎉🎉🎉
📚️参考文档
- Installing Nomad for Production | Nomad | HashiCorp Developer
三人行, 必有我师; 知识共享, 天下为公. 本文由东风微鸣技术博客 EWhisper.cn 编写.
-
33 张高清大图,带你玩转 KubeSphere 4.1.2 部署与扩展组件安装11-13
-
Spark 新作《循序渐进 Spark 大数据应用开发》简介11-11
-
KubeSphere 社区双周报| 2024.10.25-11.0711-11
-
云原生周刊:Istio 1.24.0 正式发布11-11
-
一个故事,为你理清云开发服务的选择思路11-10
-
Sentinel监控流量资料:新手入门指南11-09
-
Sentinel监控流量资料:新手入门教程11-09
-
阿里云部署方案项目实战:新手入门教程11-08
-
阿里云RDS项目实战教程11-08
-
阿里云部署方案资料详解与实战教程11-08
-
阿里云RDS资料入门教程:新手必备指南11-08
-
阿里云部署方案教程:新手入门指南11-08
-
阿里云RDS教程:新手入门到实践11-08
-
Sentinel监控流量学习教程11-07
-
阿里云部署方案学习入门指南11-07


