Java教程
软件架构-Spring boot快速开始及核心功能介绍(上)
今天一起说说微服务,之前写docker多服务部署的时候也说微服务,一起说说Spring boot快速开始及核心功能介绍。
(一)Spring boot认知,核心功能
一般的框架出现主要是为了解决问题的。微服务和springboot出现,是一个非常重大的更新,spring已经没落了很久的(也可以说整个java),自从springboot出现spring二次发育第二春。吐糟:java开发起来非常的笨重,没有动态语言go,python,nodejs轻。每次搞java的spring配置一坨一坨的,用技术也需要配置很多,管理很多的配置,开发效率低下。
- 微架构
1.快速集成
2.开发快速
3.启动快速
4.部署快速
5.测试部署
spring的微架构落地的实现springboot。
- Spring Boot是为了简化Spring应用的创建、运行、调试、部署等而出现的,使用它可以做到专注于Spring应用及业务的开发,而无需过多关注XML的配置[理想情况零配置] (0配置只是说说基本不可能,可以通过0配置来配置应用,但是我们应用还是要做一点点的配置)
- 简单来说,它提供了一堆Starter POM依赖包,并按照使用习惯解决了一些依赖问题及配置问题[习惯优于约定](反例:契约优先就是定义WebService接口,先定义wsdl的xml,然后在开始写代码。)。
- Spring Boot默认使用内嵌的tomcat作为应用服务器,使用logback作为日志记录。
- Spring Boot提供了一系列的依赖包,所以需要构建工具的支持:maven 或 gradle。
核心功能
- 以jar包方式独立运行(jar -jar xxx.jar) (只需要安装个jdk就可以运行)。
- 内嵌Servlet容器(tomcat, jetty),无 需以war包形式部署到独立的servlet容器中 。
- 提供starter简化maven依赖包配置。
- 自动装配bean(大多数场景) 。
- 零配置(理论上),Spring 4.x新特性,提倡使用java配置和注解配置结合而无需xml配置。
(二) springBoot的搭建
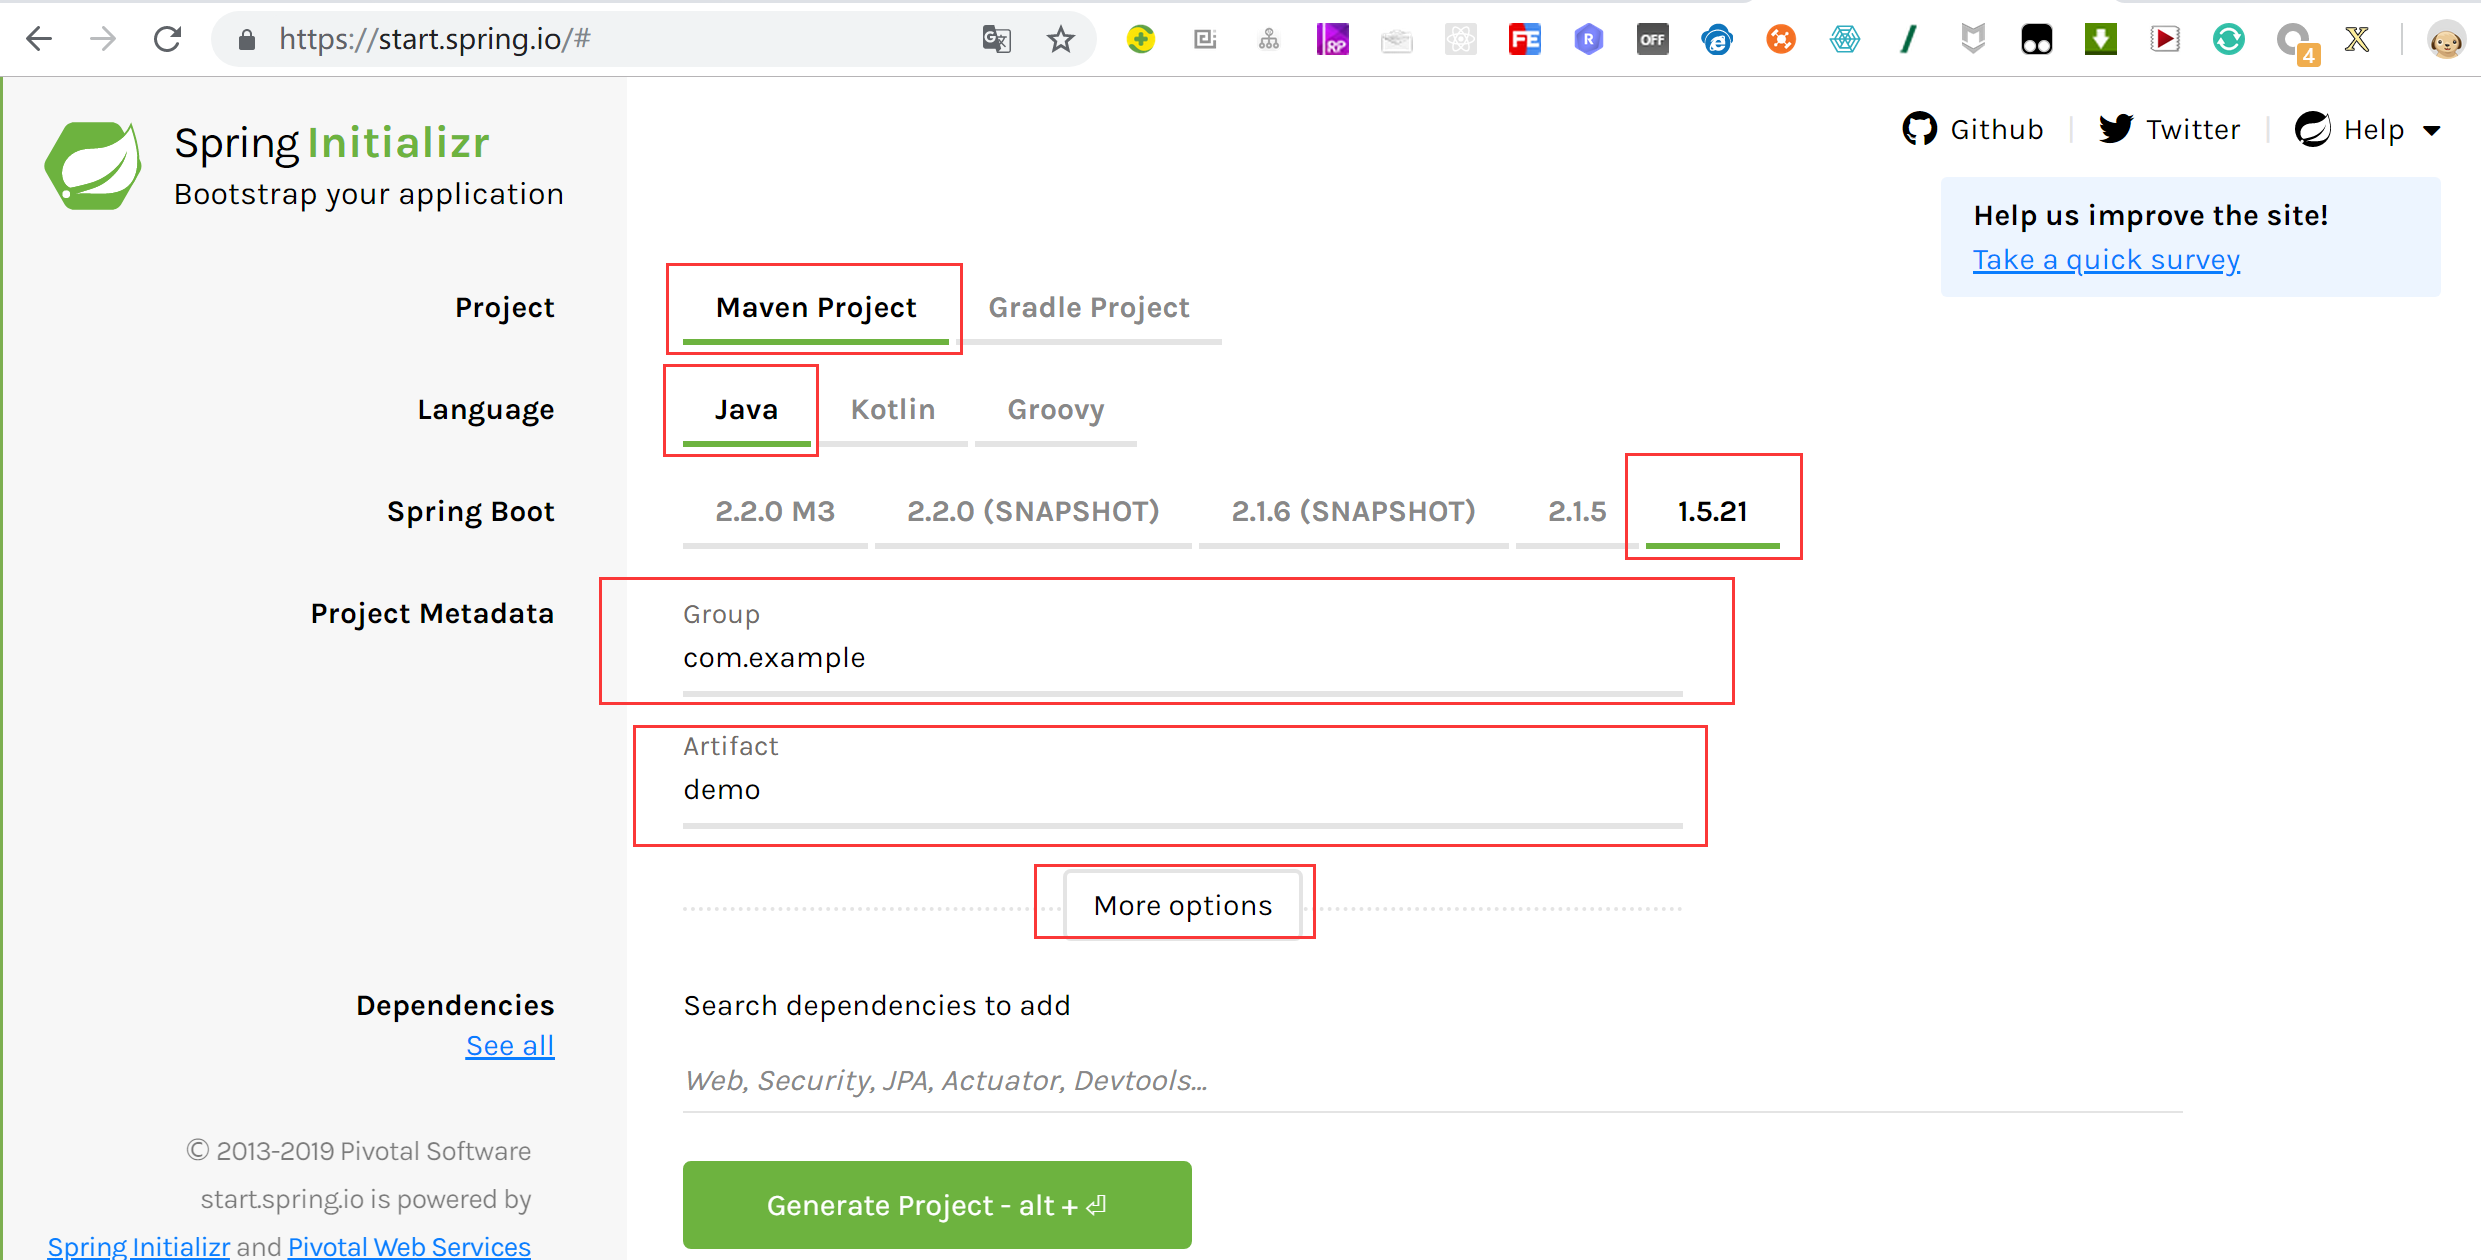
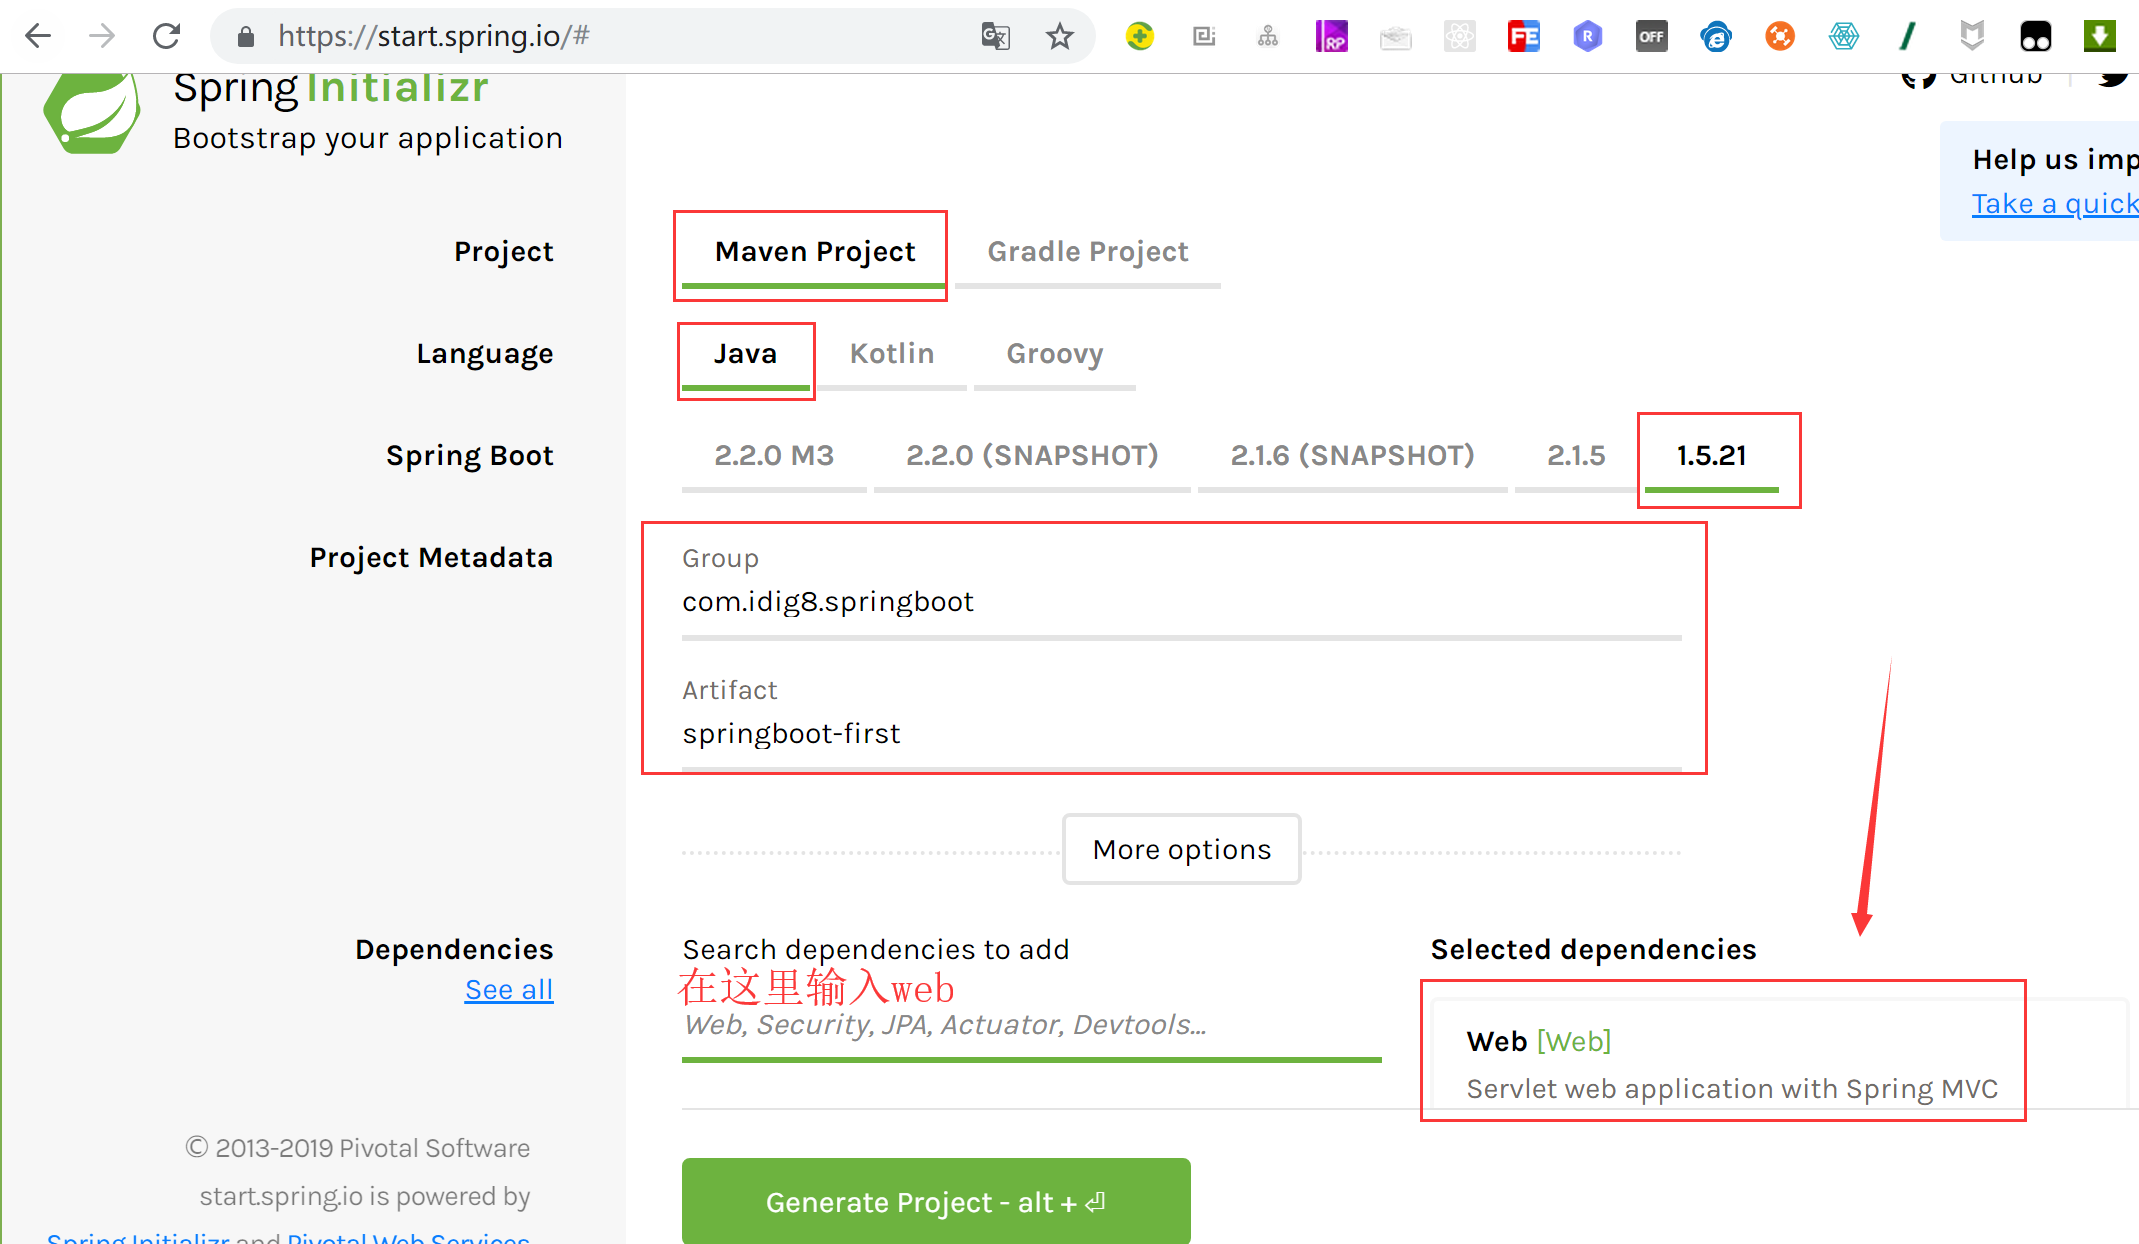
- 官方向导搭建boot应用
https://start.spring.io/
springboot的一个搭建的向导。
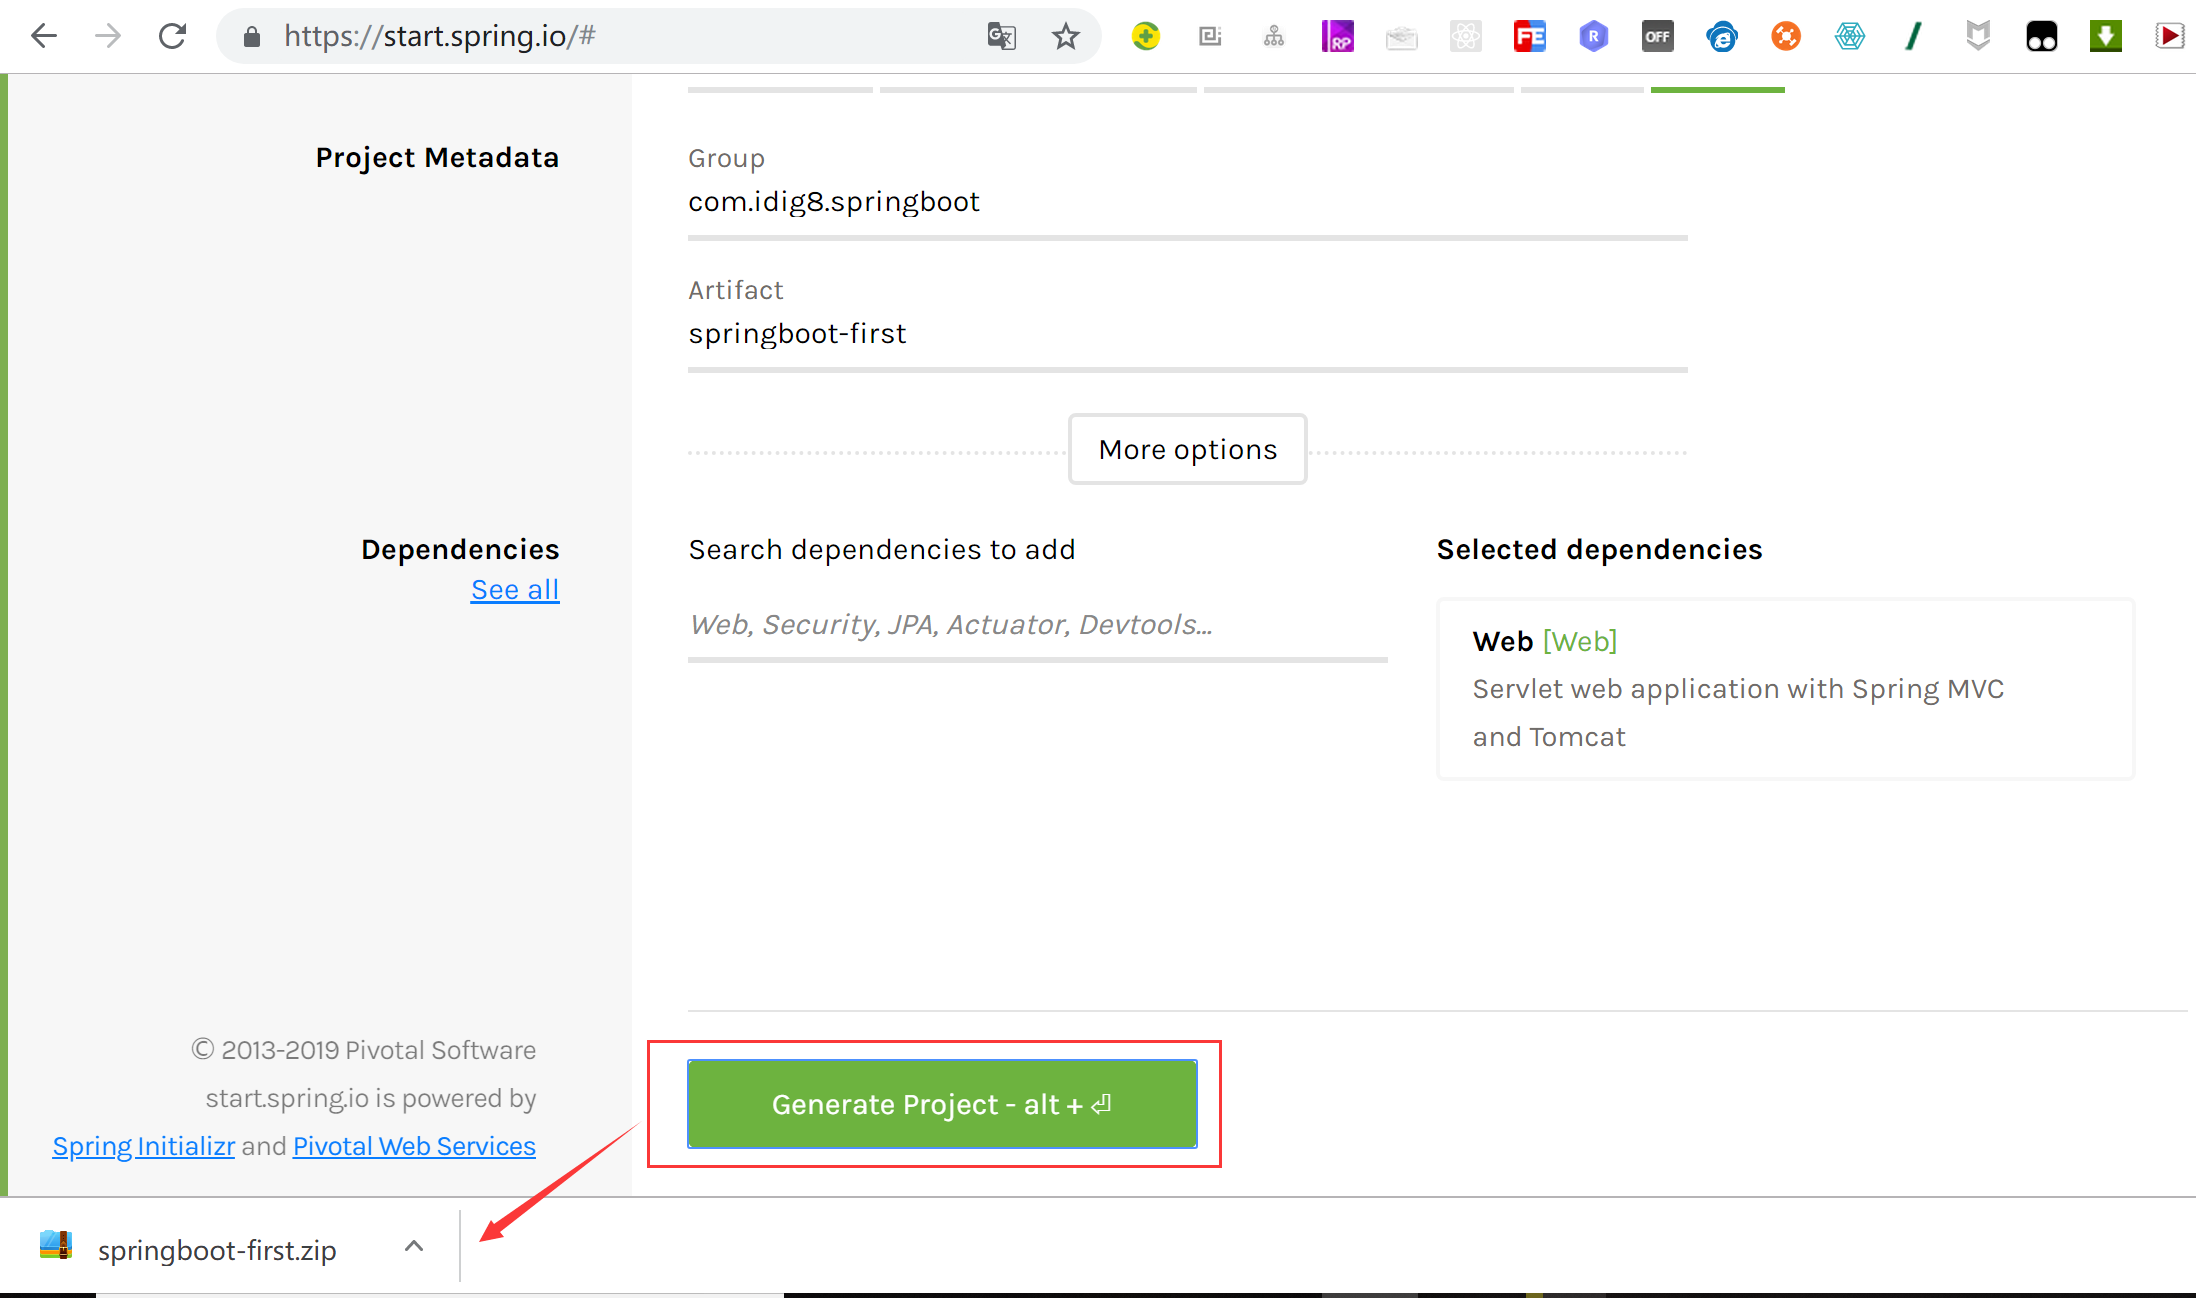
点击Generate Project
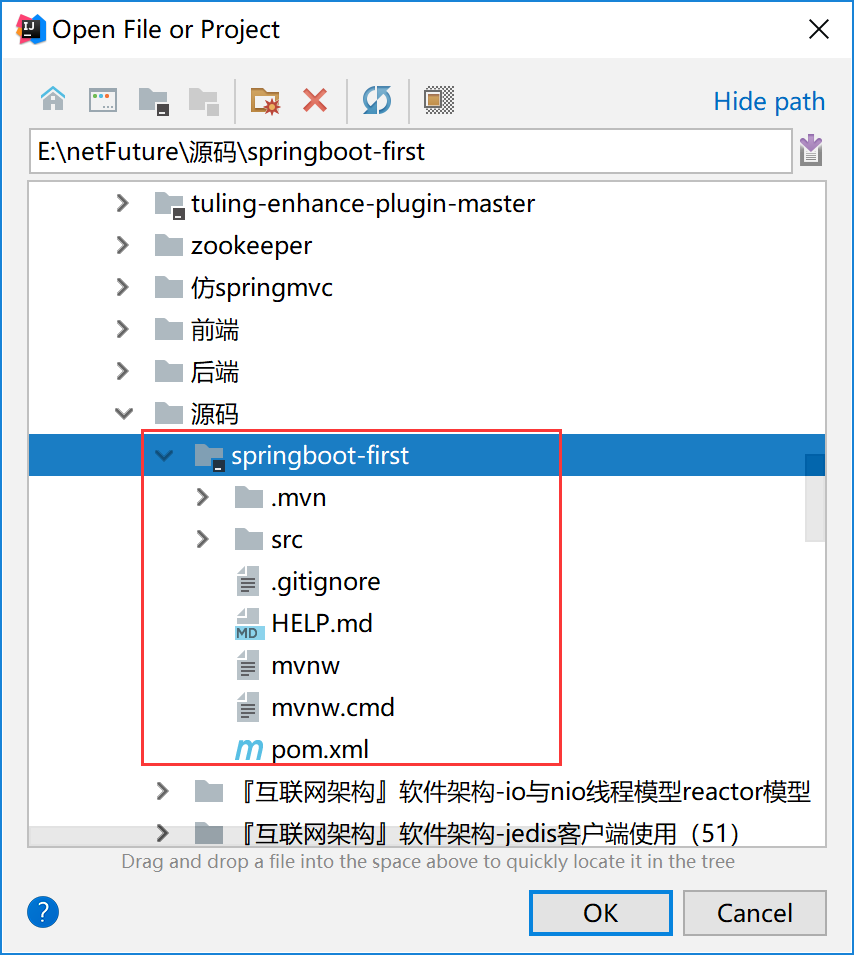
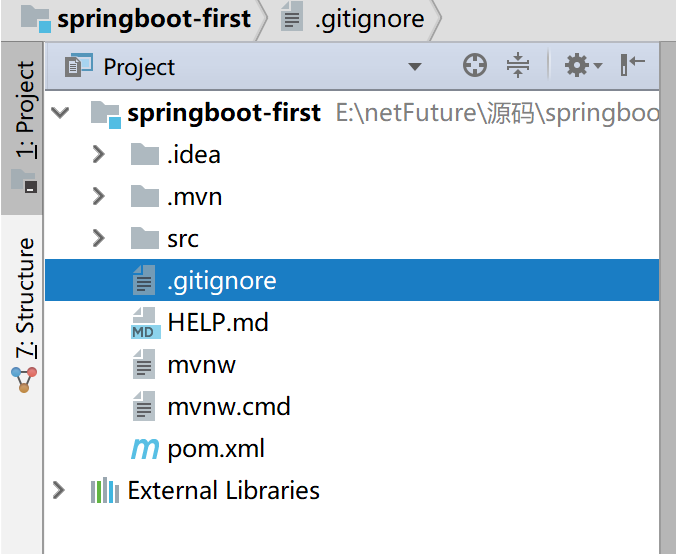
下载的springboot-first解压,只用idea打开
idea导入完毕
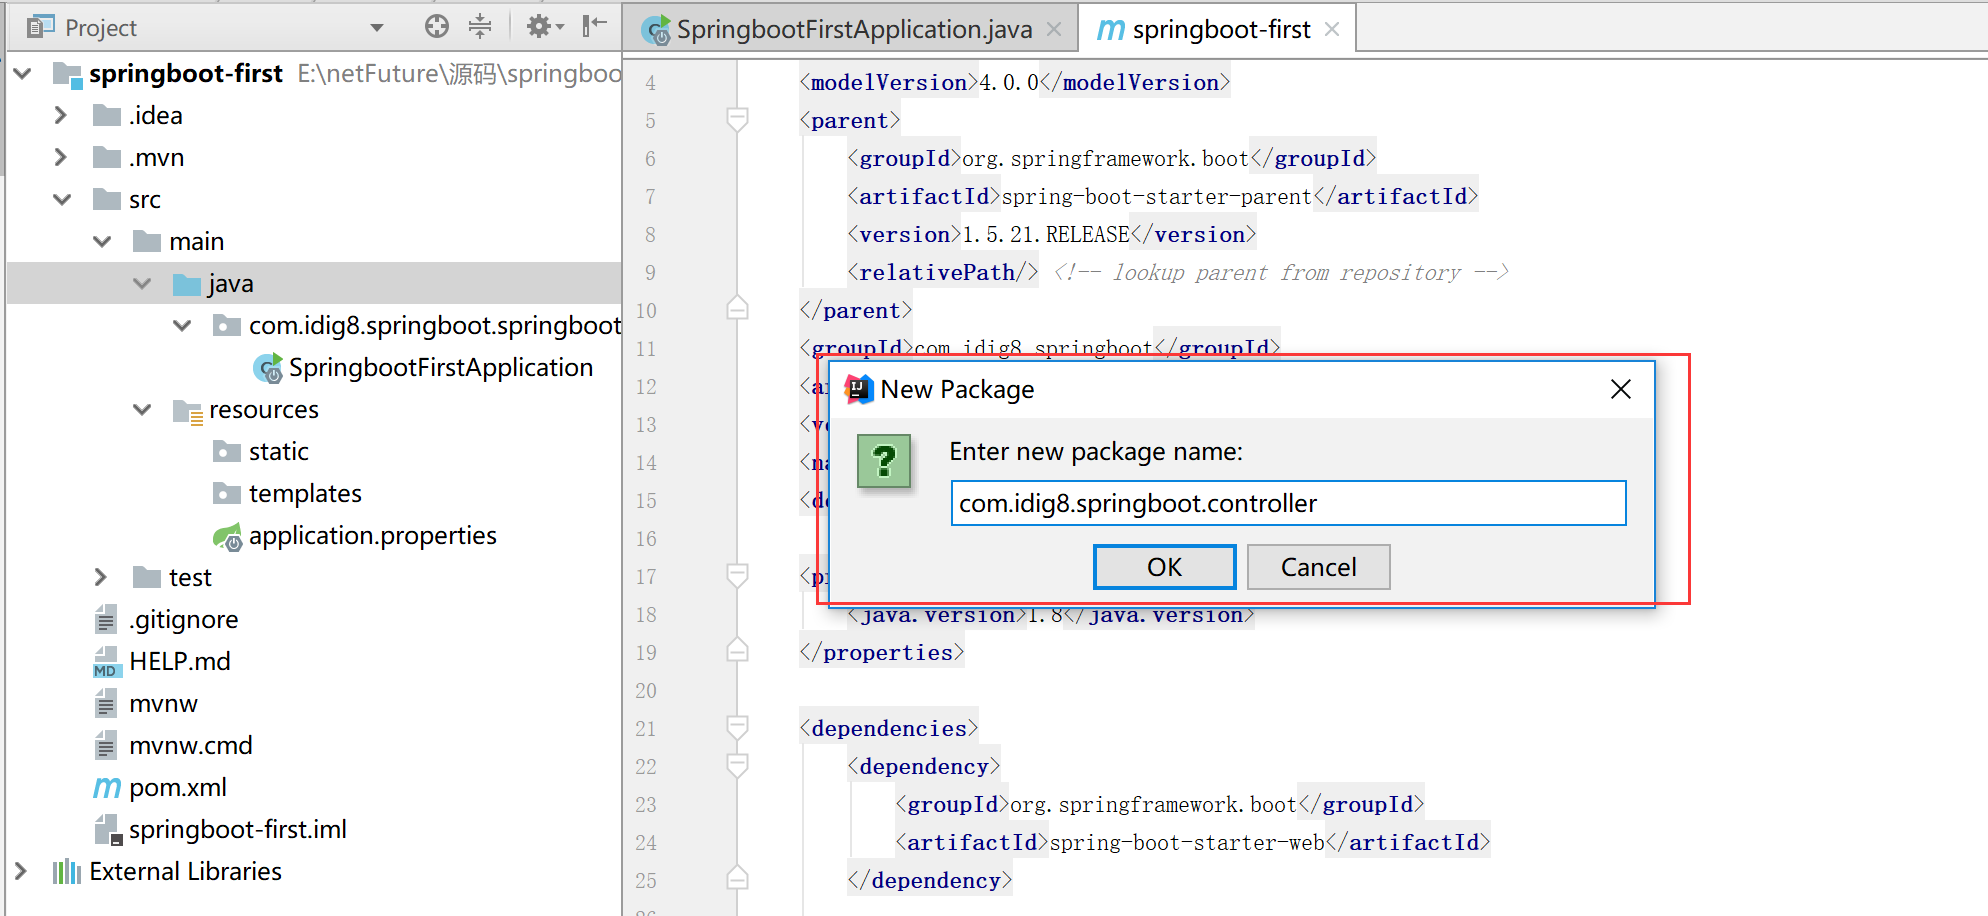
新建立包com.idig8.springboot.controller
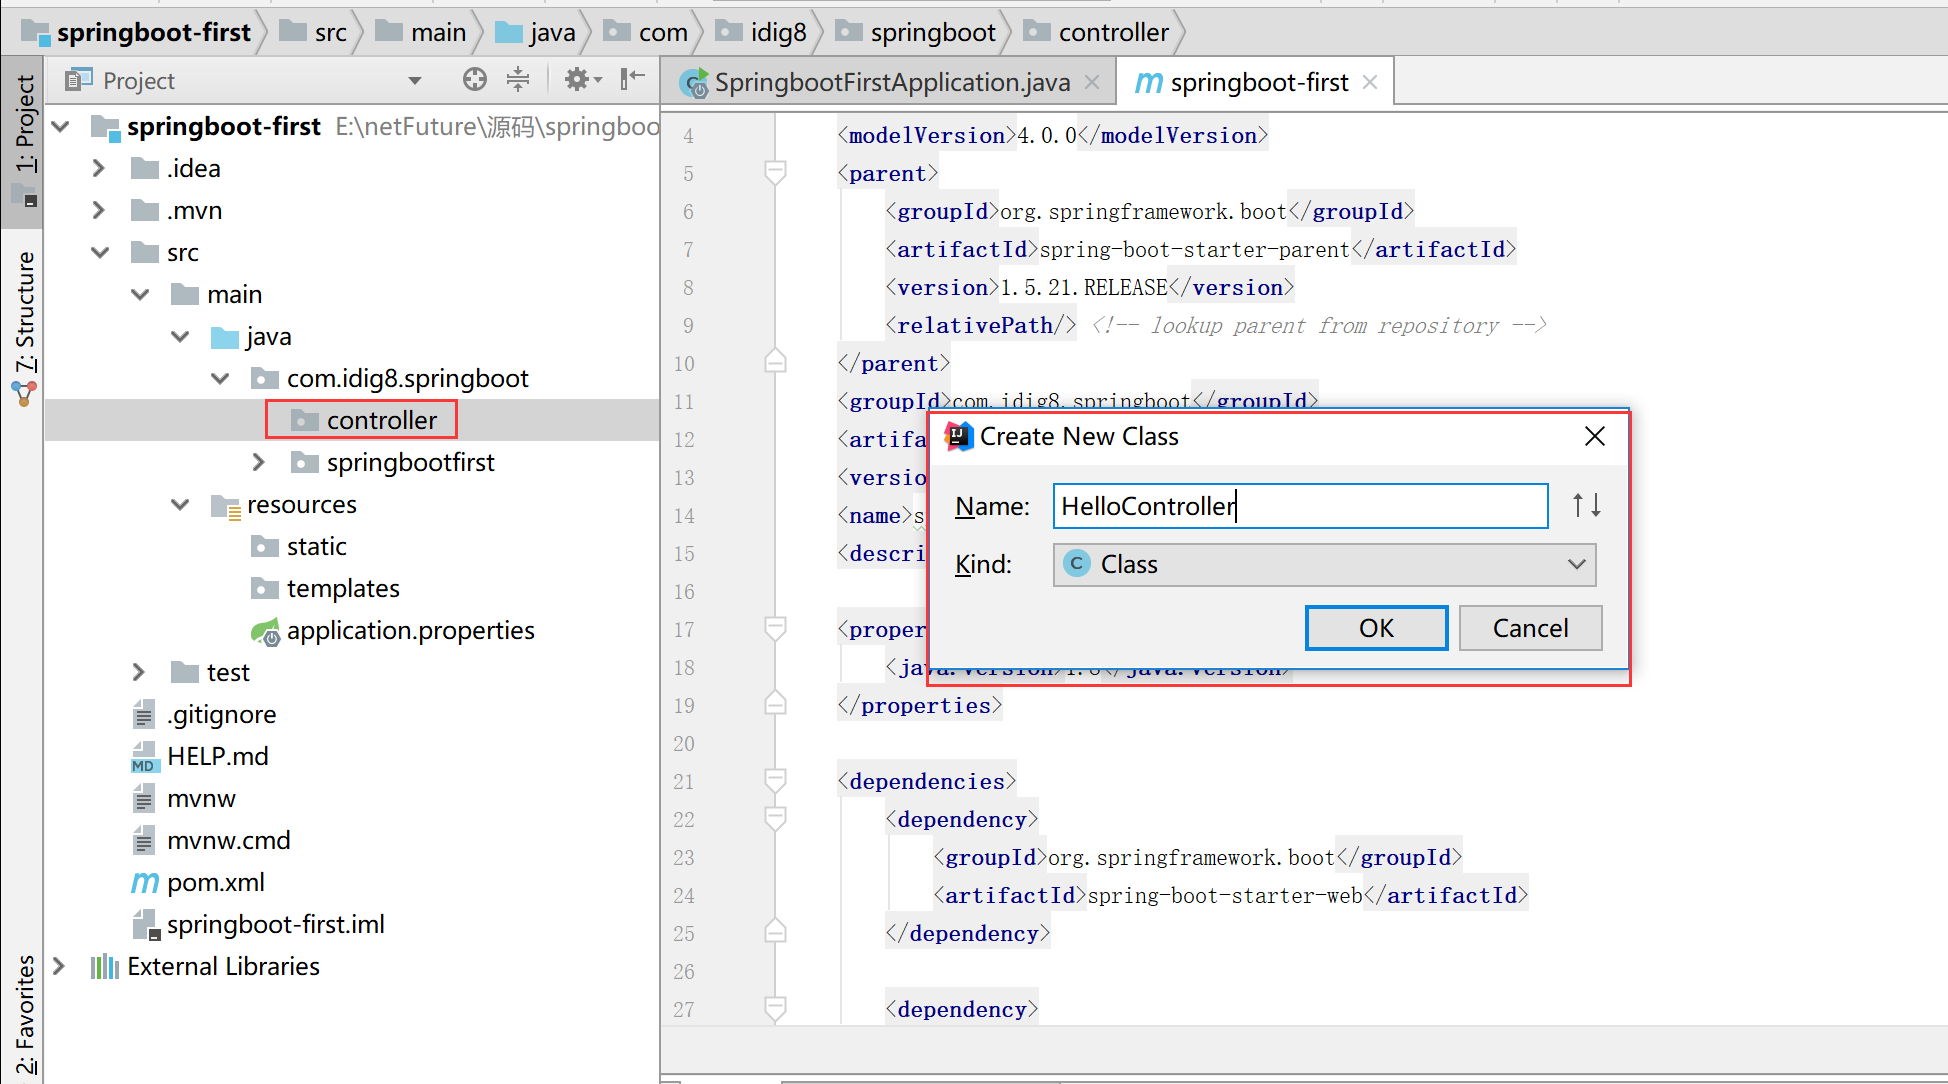
新建立controller
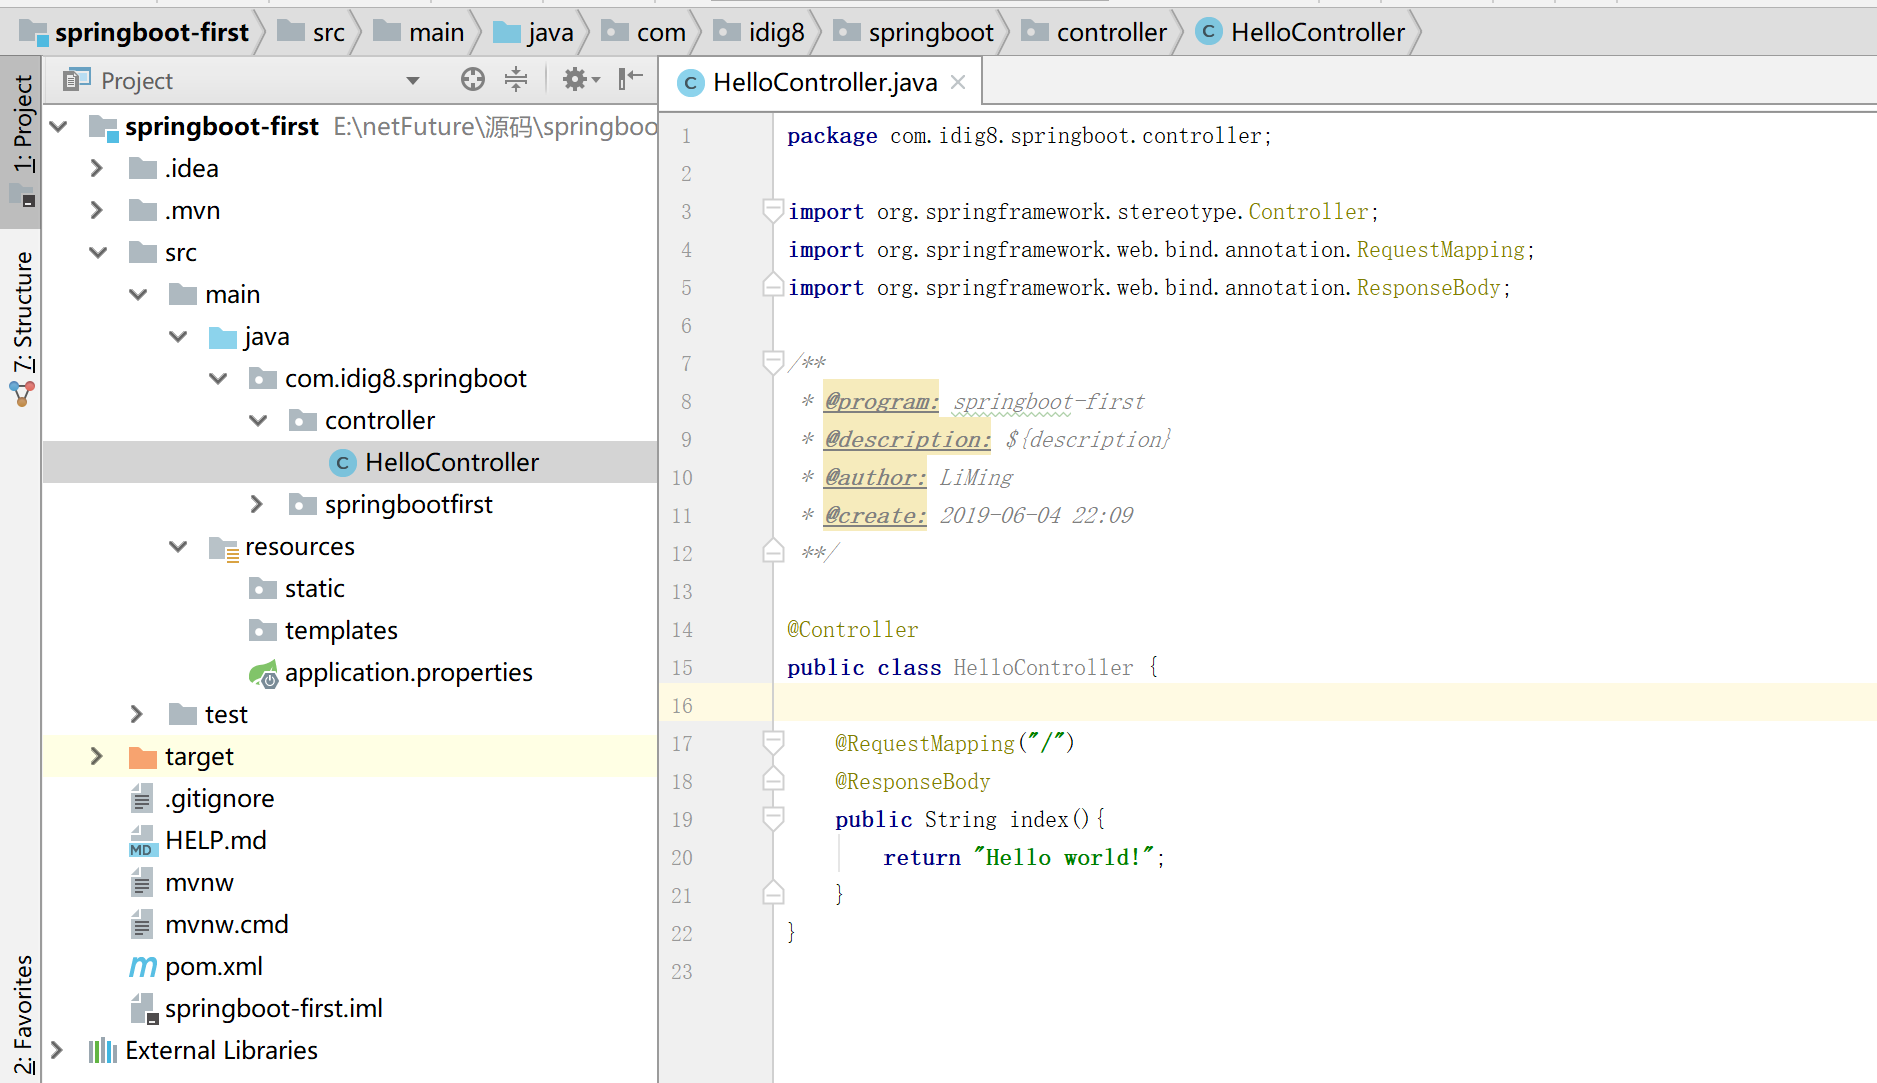
编写HelloController
package com.idig8.springboot.controller;

import org.springframework.stereotype.Controller;
import org.springframework.web.bind.annotation.RequestMapping;
import org.springframework.web.bind.annotation.ResponseBody;

/**
 * @program: springboot-first
 * @description: controller文件编写
 * @author: LiMing
 * @create: 2019-06-04 22:09
 **/

@Controller
public class HelloController {

    @RequestMapping("/")
    @ResponseBody
    public String index(){
        return "Hello world!";
    }
}
修改SpringbootFirstApplication,增加扫描包
package com.idig8.springboot.springbootfirst;

import org.springframework.boot.SpringApplication;
import org.springframework.boot.autoconfigure.SpringBootApplication;
import org.springframework.context.annotation.ComponentScan;

@SpringBootApplication
@ComponentScan(basePackages = {"com.idig8.springboot.controller"})
public class SpringbootFirstApplication {

	public static void main(String[] args) {
		SpringApplication.run(SpringbootFirstApplication.class, args);
	}

}
进入SpringbootFirstApplication如下图选择运行
springboot 已经成功启动,端口8080
扫描到了对应/ 对应的HelloController的index方法
启动时间2秒就启动就可以了。
访问:http://127.0.0.1:8080
从上边的看,是不是感觉做个web开发很简单,1分钟搞定。
- 普通maven工程搭建boot应用
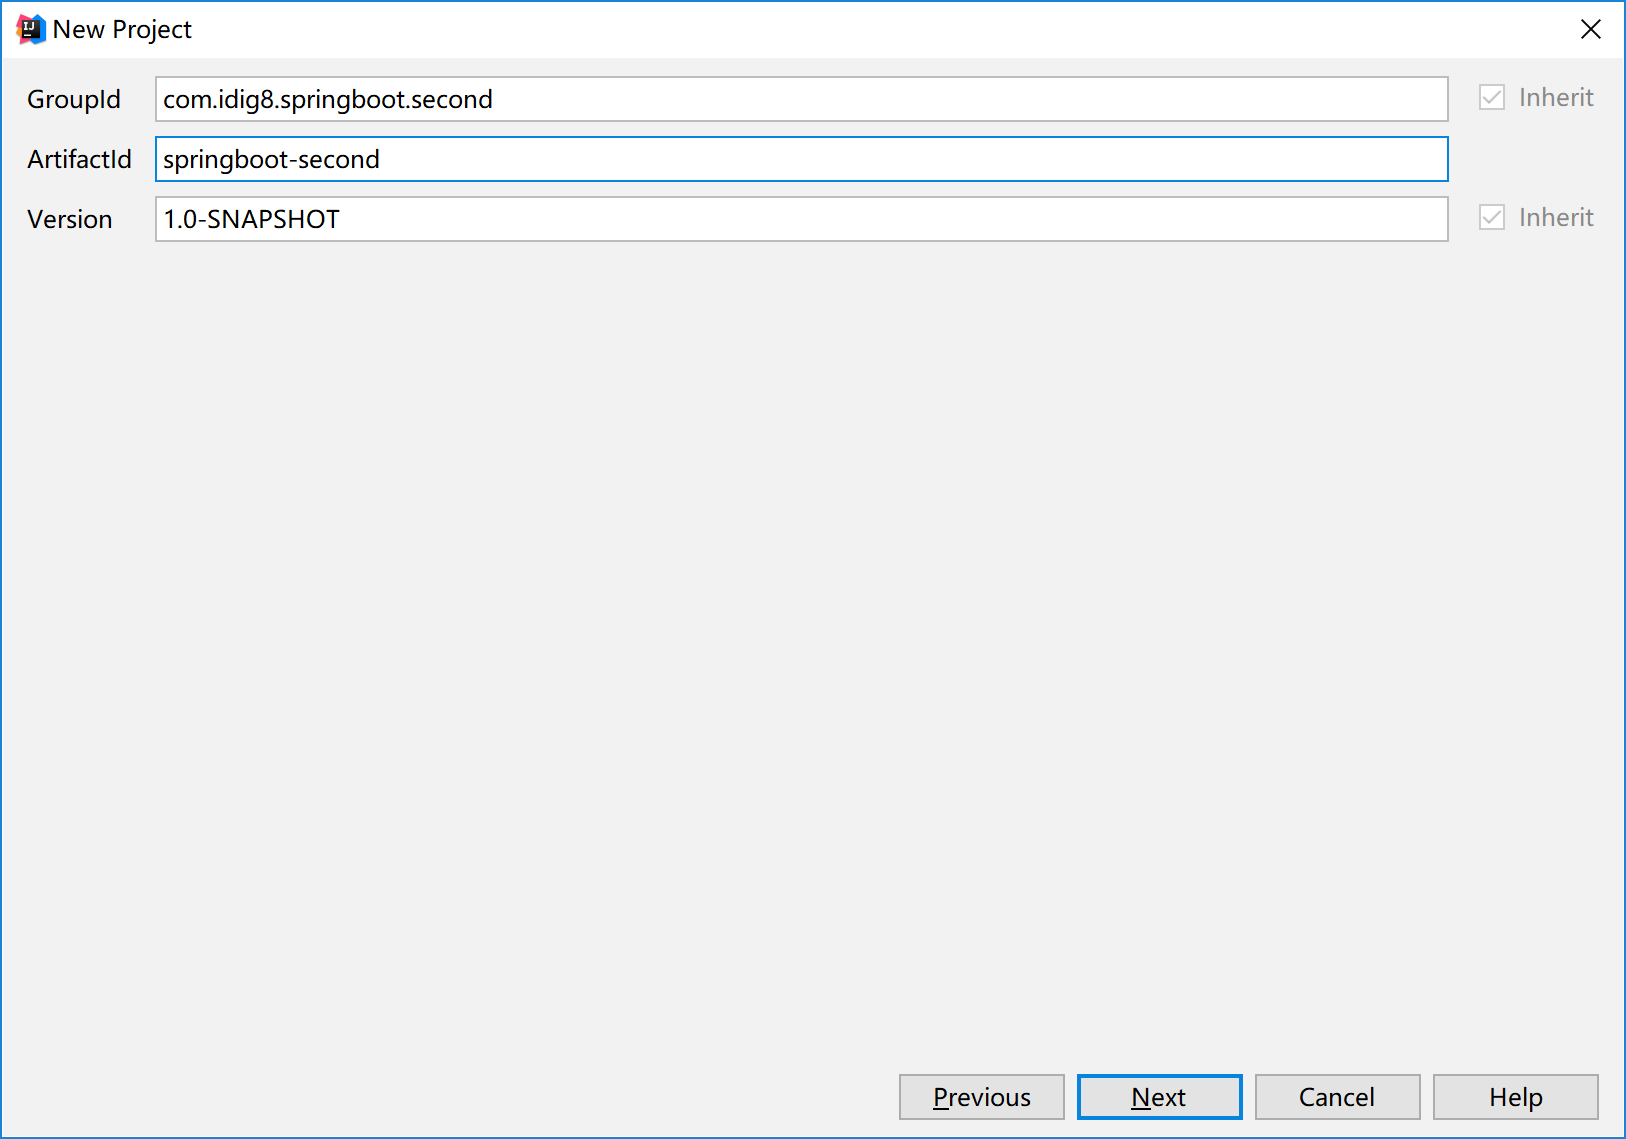
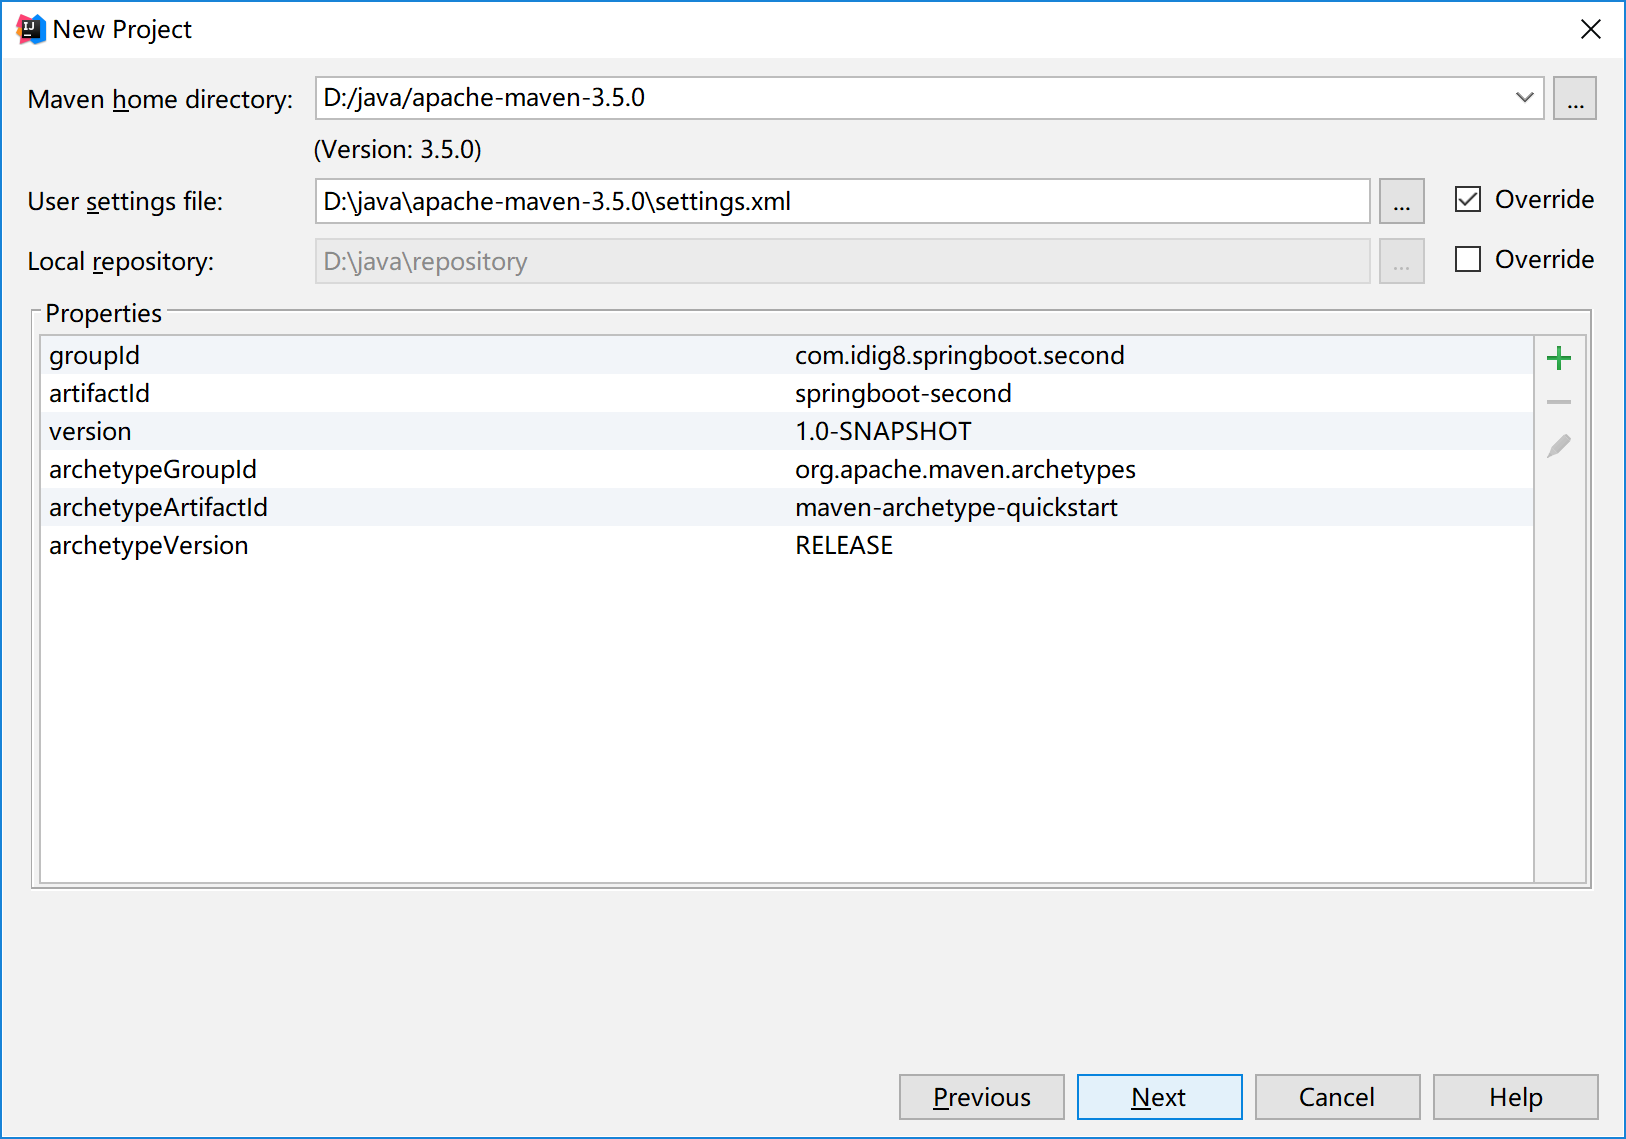
新建一个普通的maven工程
【注意:Spring boot是web工程,但是我们这里只需要建立quickstart即可,因为spring boot内嵌了servlert容器】
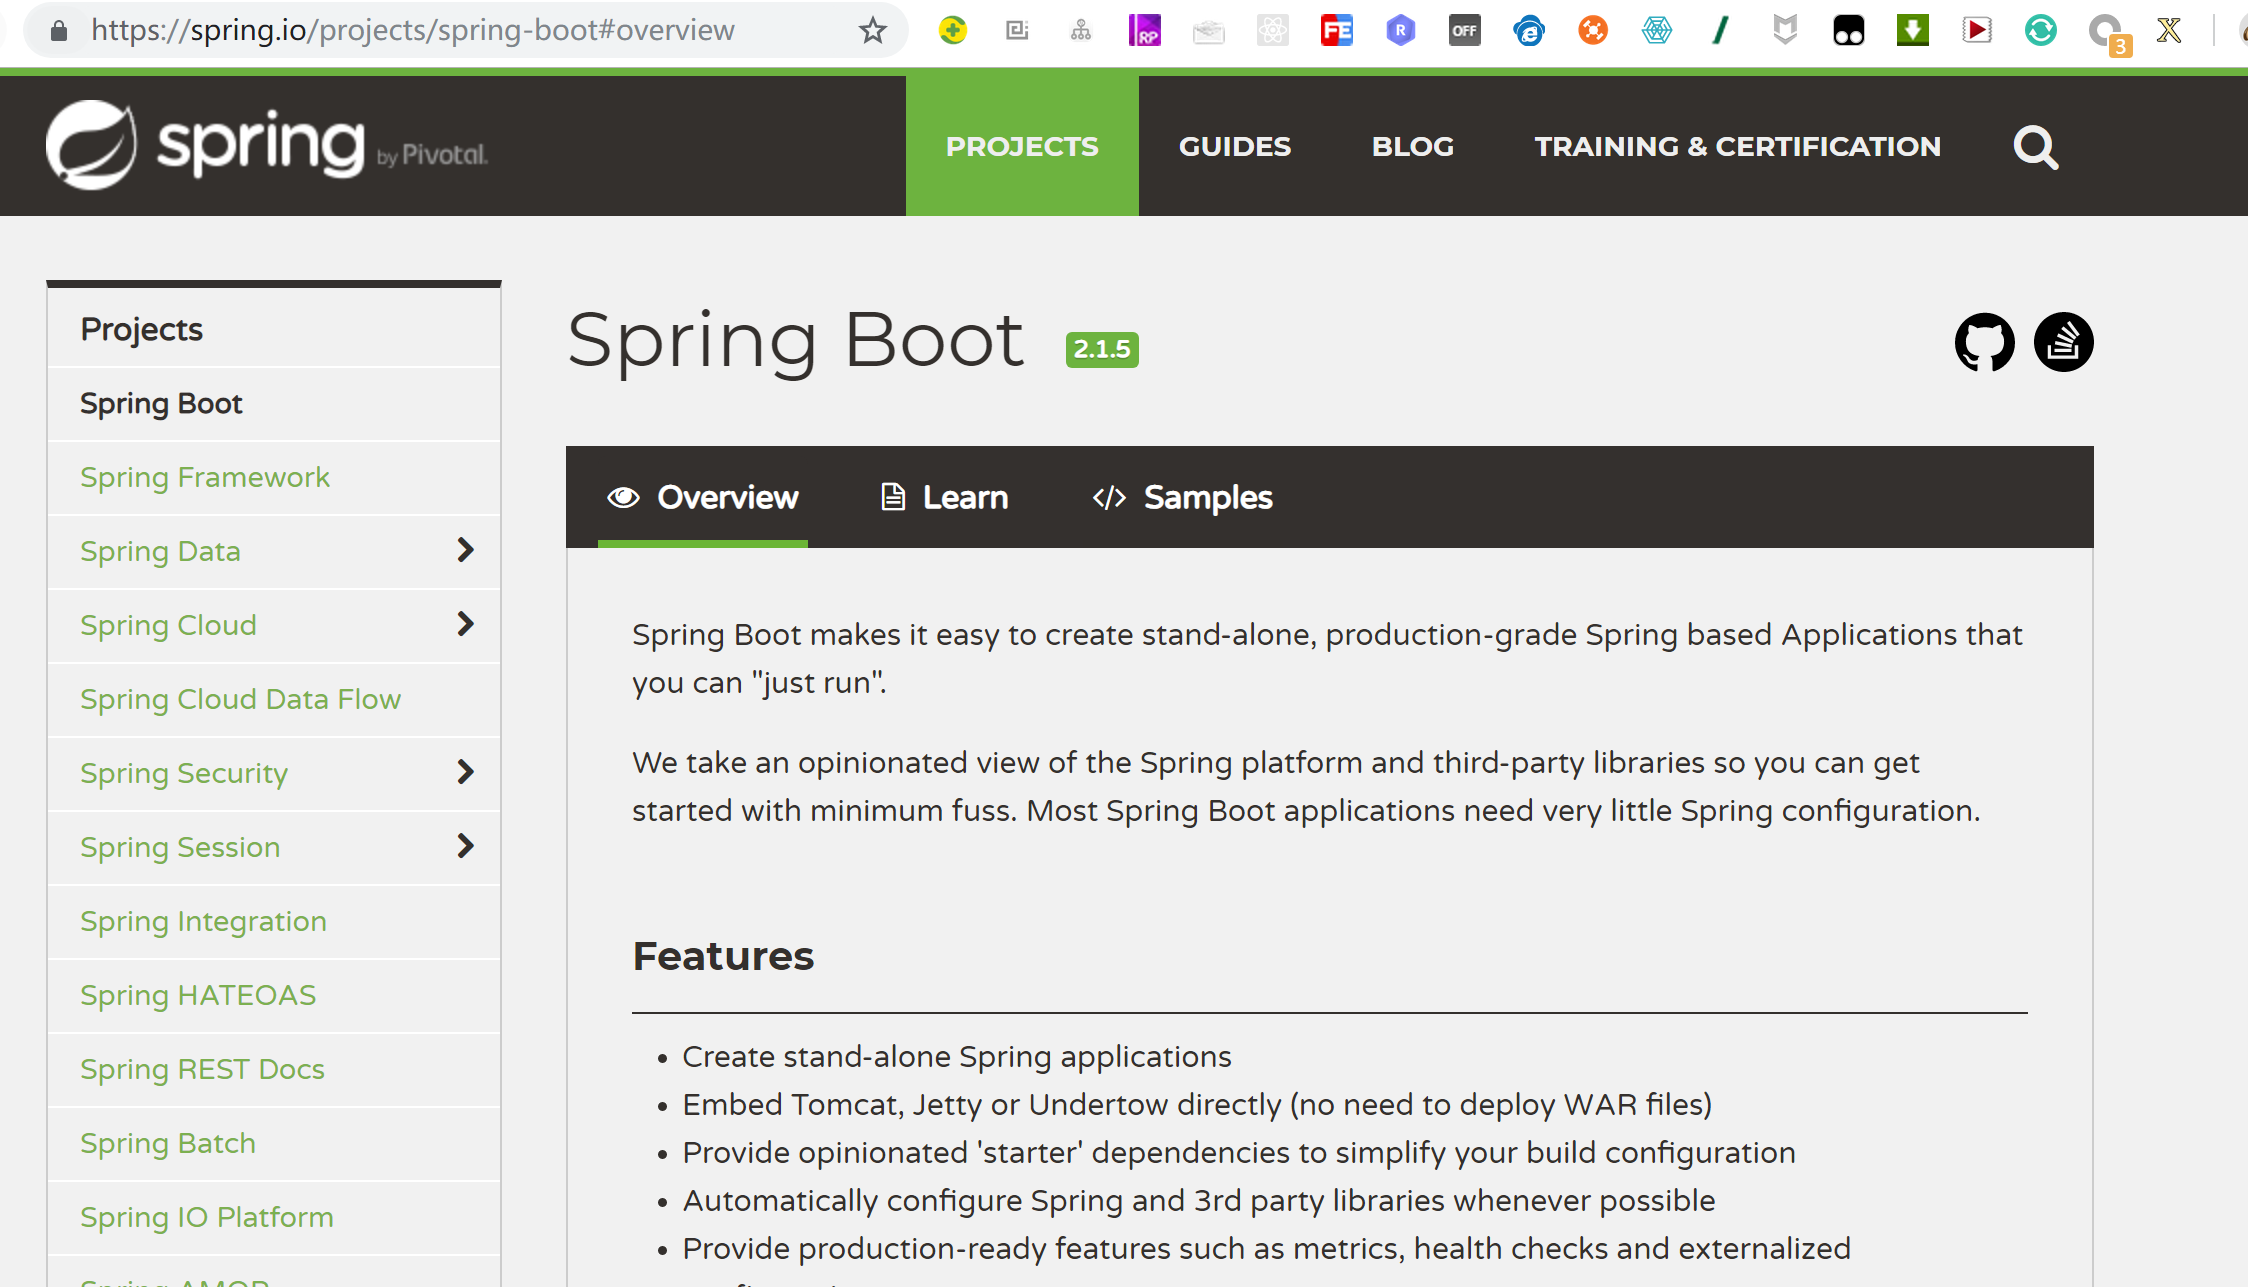
查看官方文档:https://projects.spring.io/spring-boot/
点击learn-选择版本1.5.10.RELEASE。建议:生产环境中选择稳定的版本
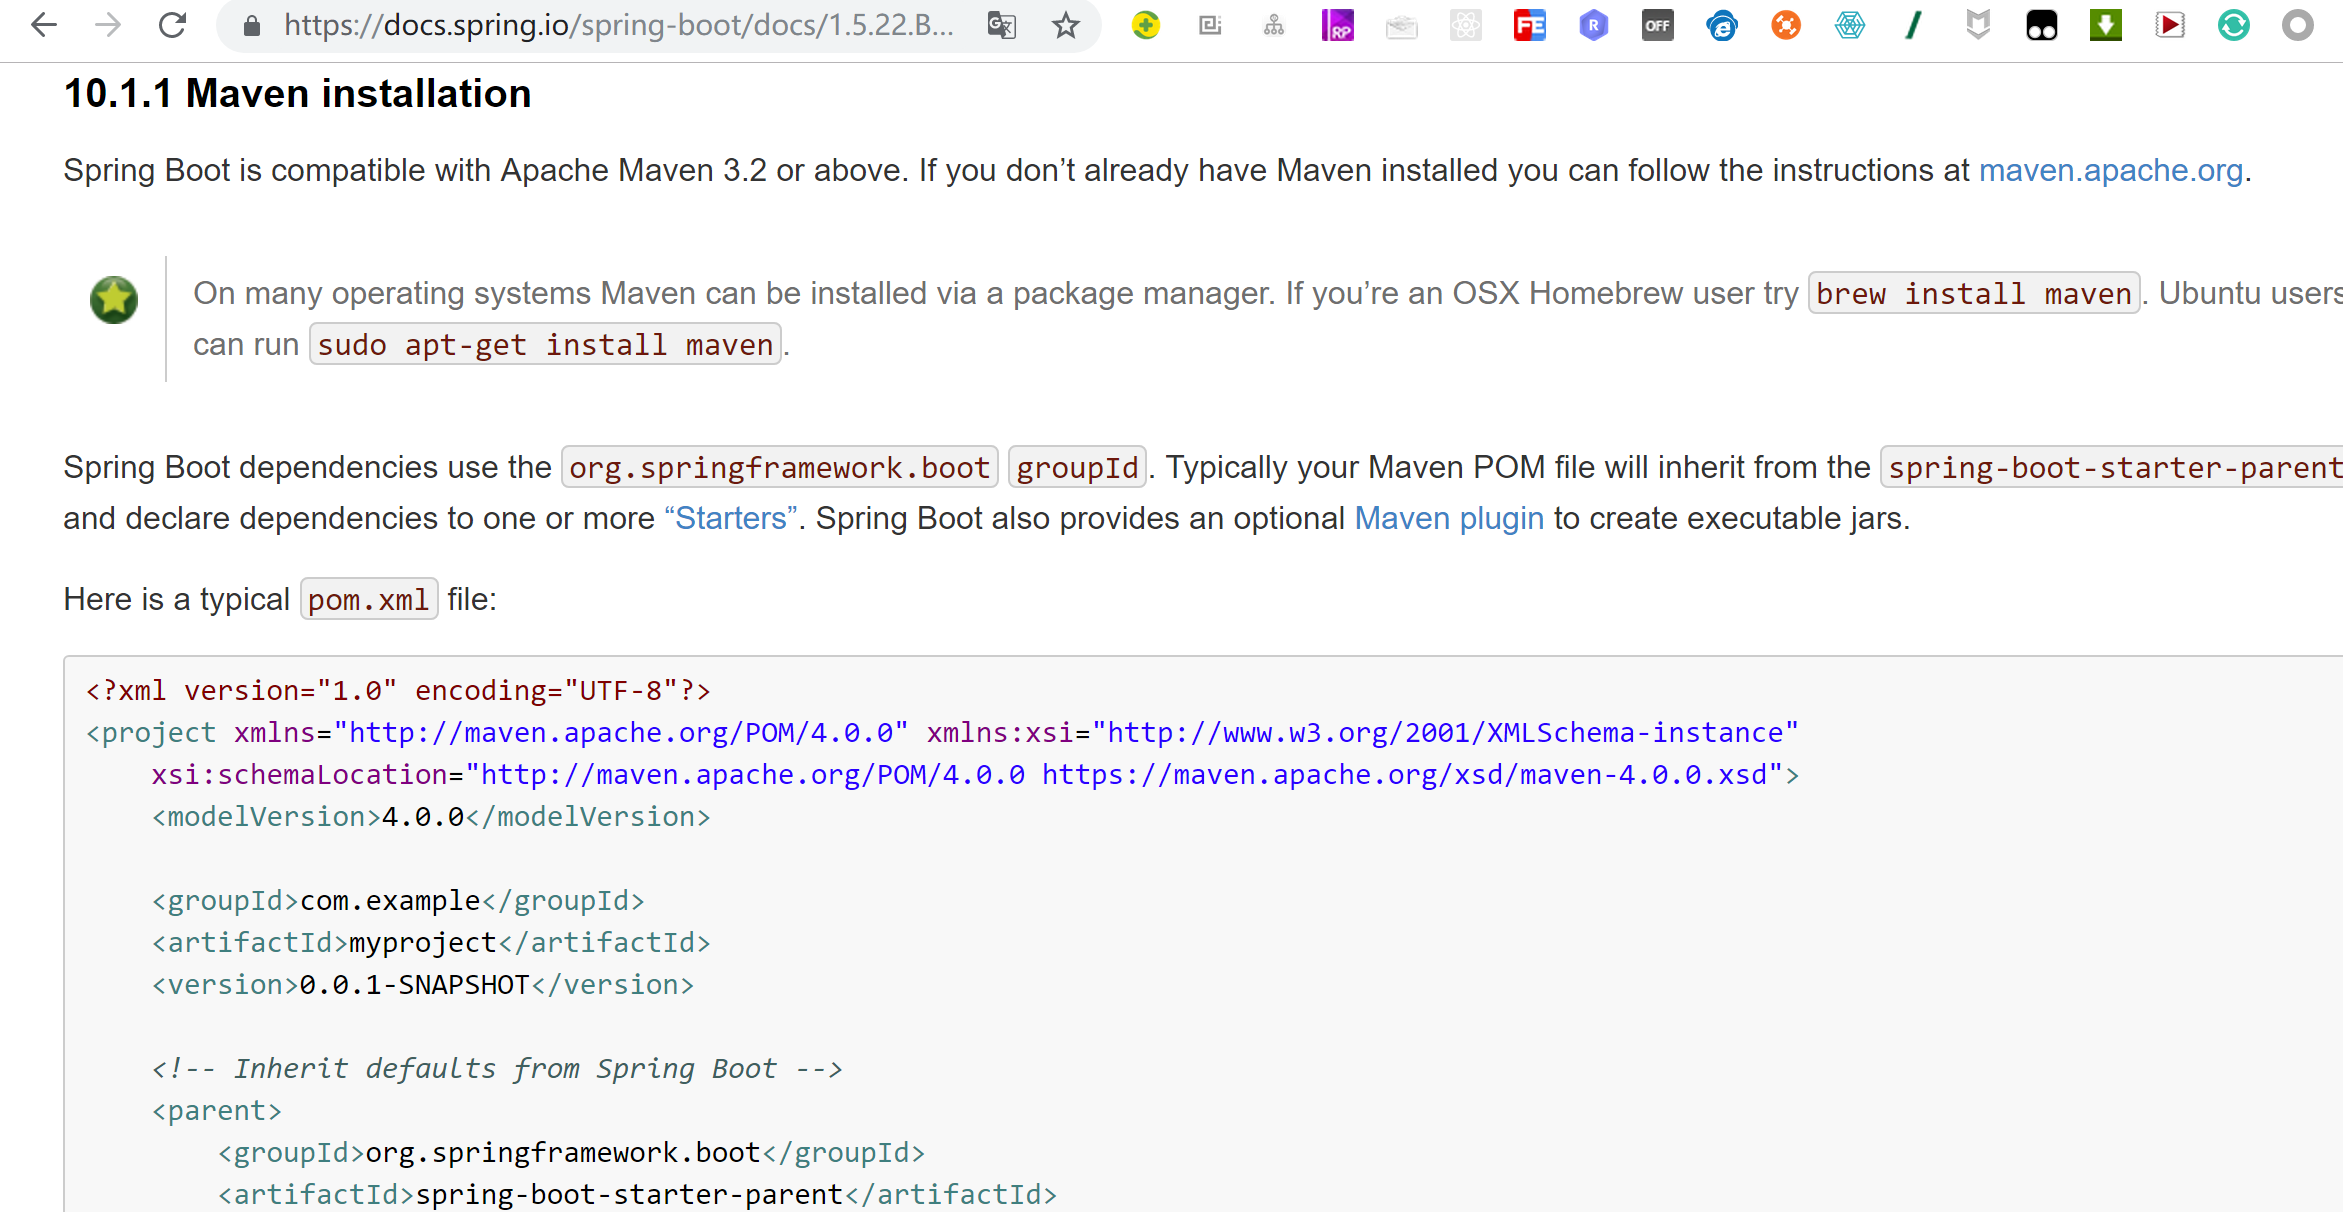
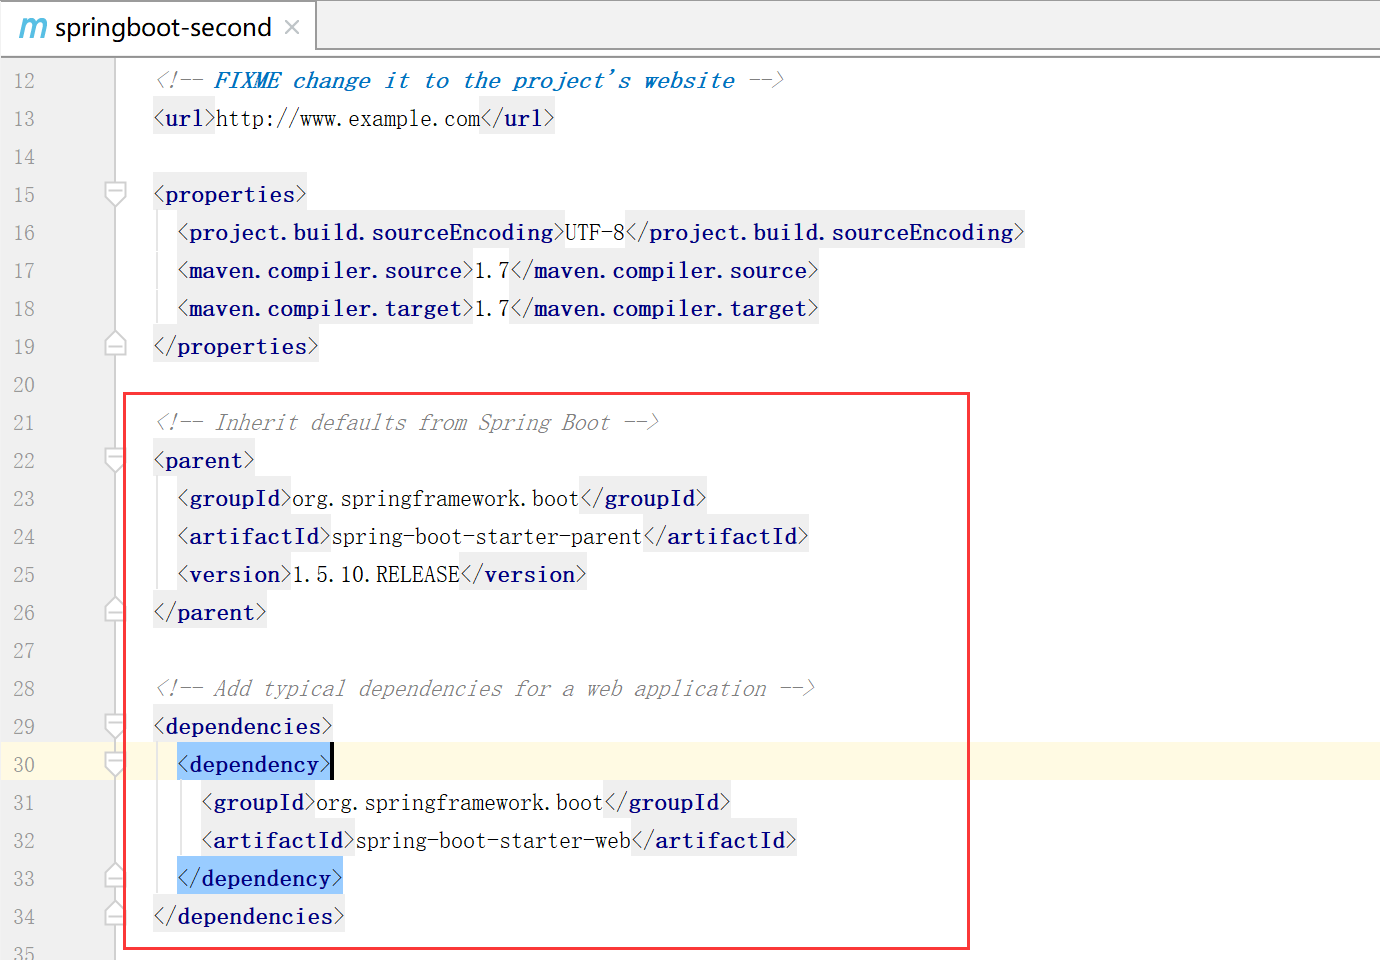
拷贝依赖的父pom到自己的工程pom文件中
<parent>
    <groupId>org.springframework.boot</groupId>
    <artifactId>spring-boot-starter-parent</artifactId>
    <version>1.5.10.RELEASE</version>
</parent>
<dependencies>
    <dependency>
        <groupId>org.springframework.boot</groupId>
        <artifactId>spring-boot-starter-web</artifactId>
    </dependency>
</dependencies>
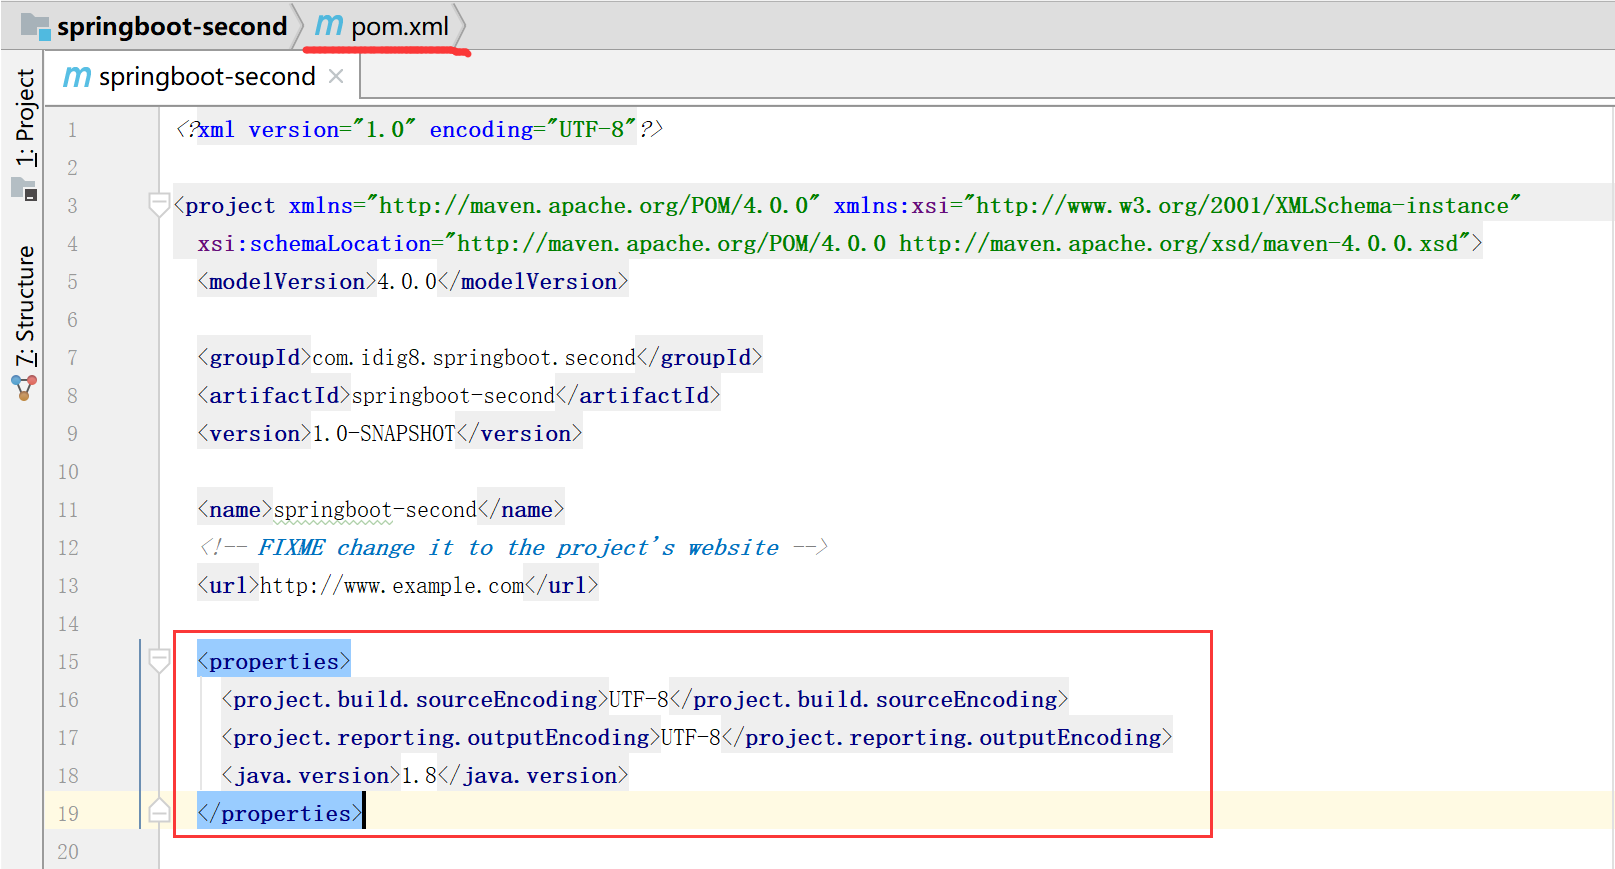
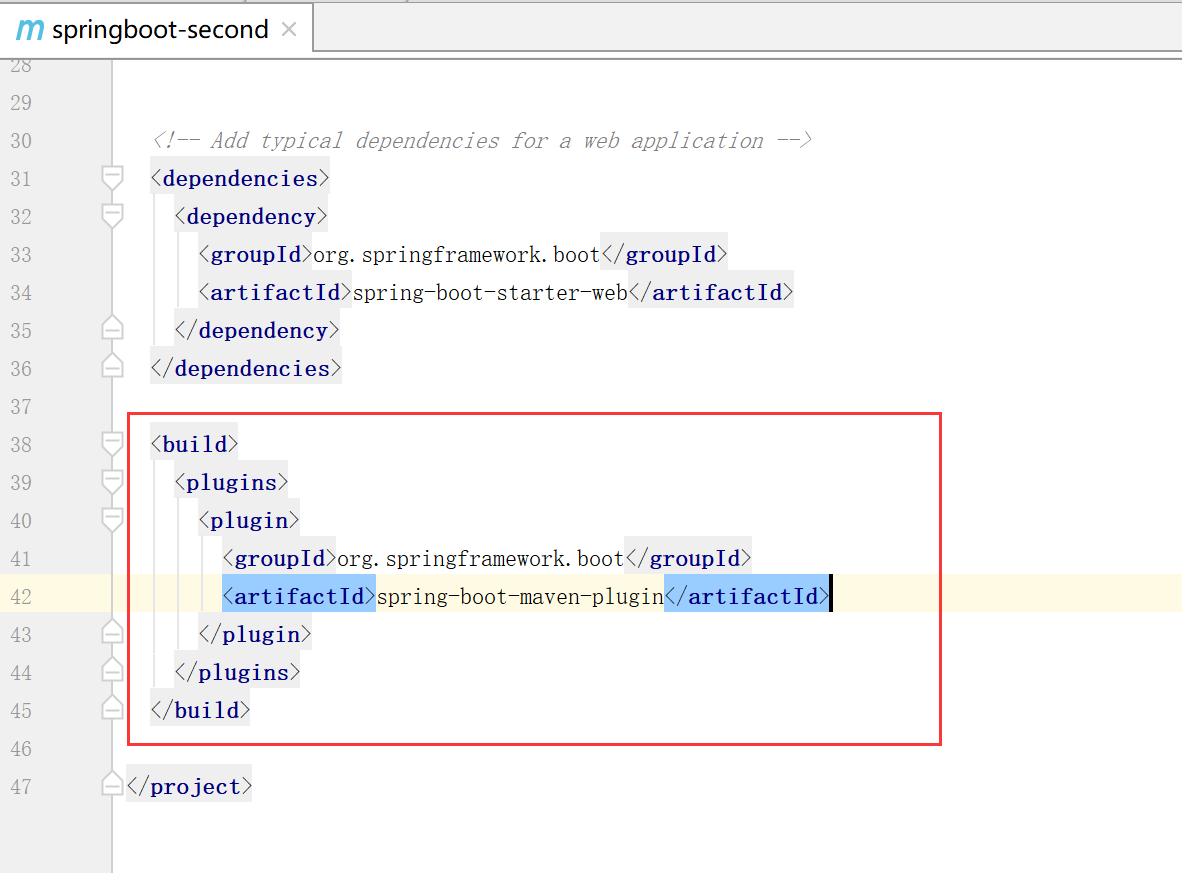
从上面的第一个boot项目的pom中拷贝项目构建的内容到当前工程中(以下内容为每个maven项目都必须要的)
<properties>
    <project.build.sourceEncoding>UTF-8</project.build.sourceEncoding>
    <project.reporting.outputEncoding>UTF-8</project.reporting.outputEncoding>
    <java.version>1.8</java.version>
</properties>


<build>
    <plugins>
        <plugin>
            <groupId>org.springframework.boot</groupId>
            <artifactId>spring-boot-maven-plugin</artifactId>
        </plugin>
    </plugins>
</build>
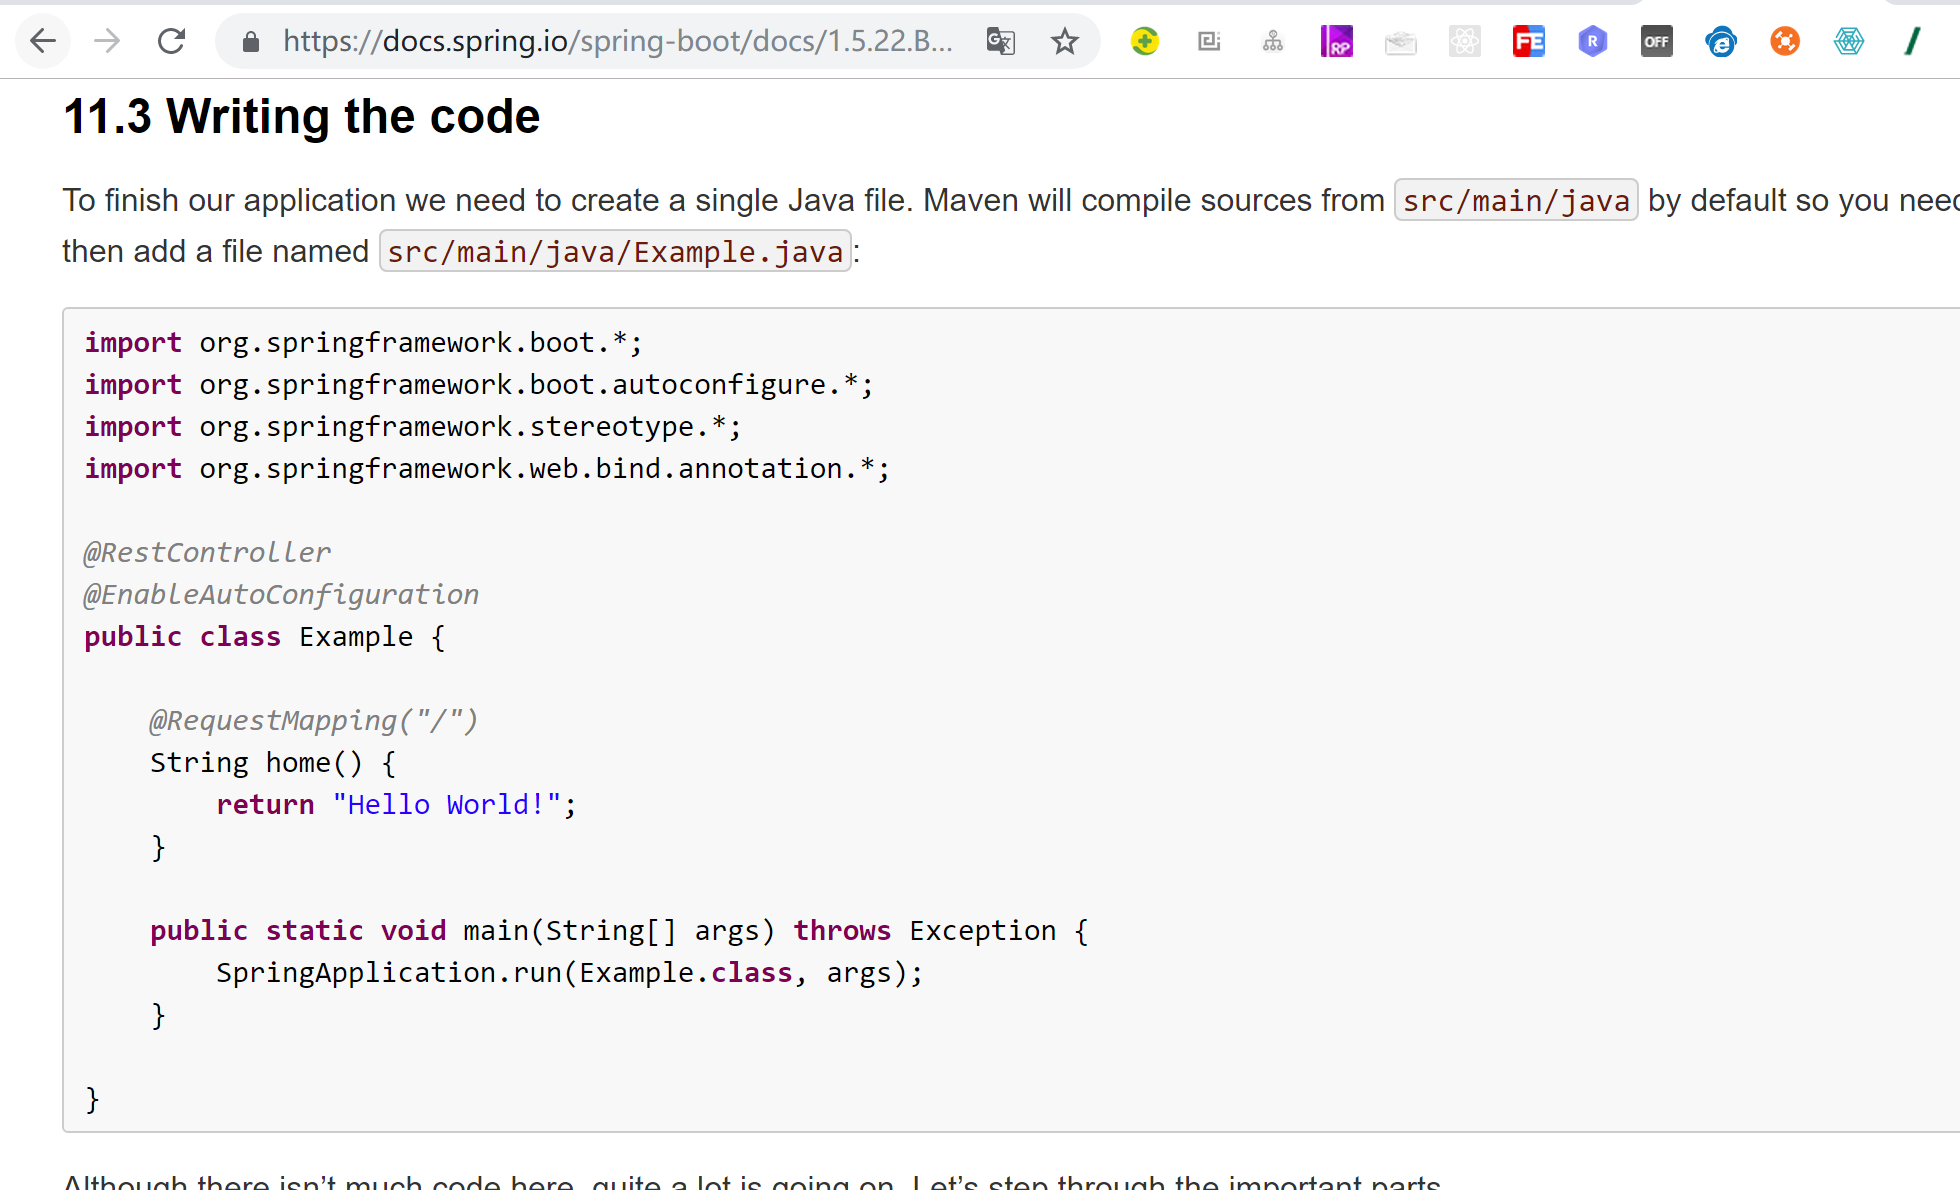
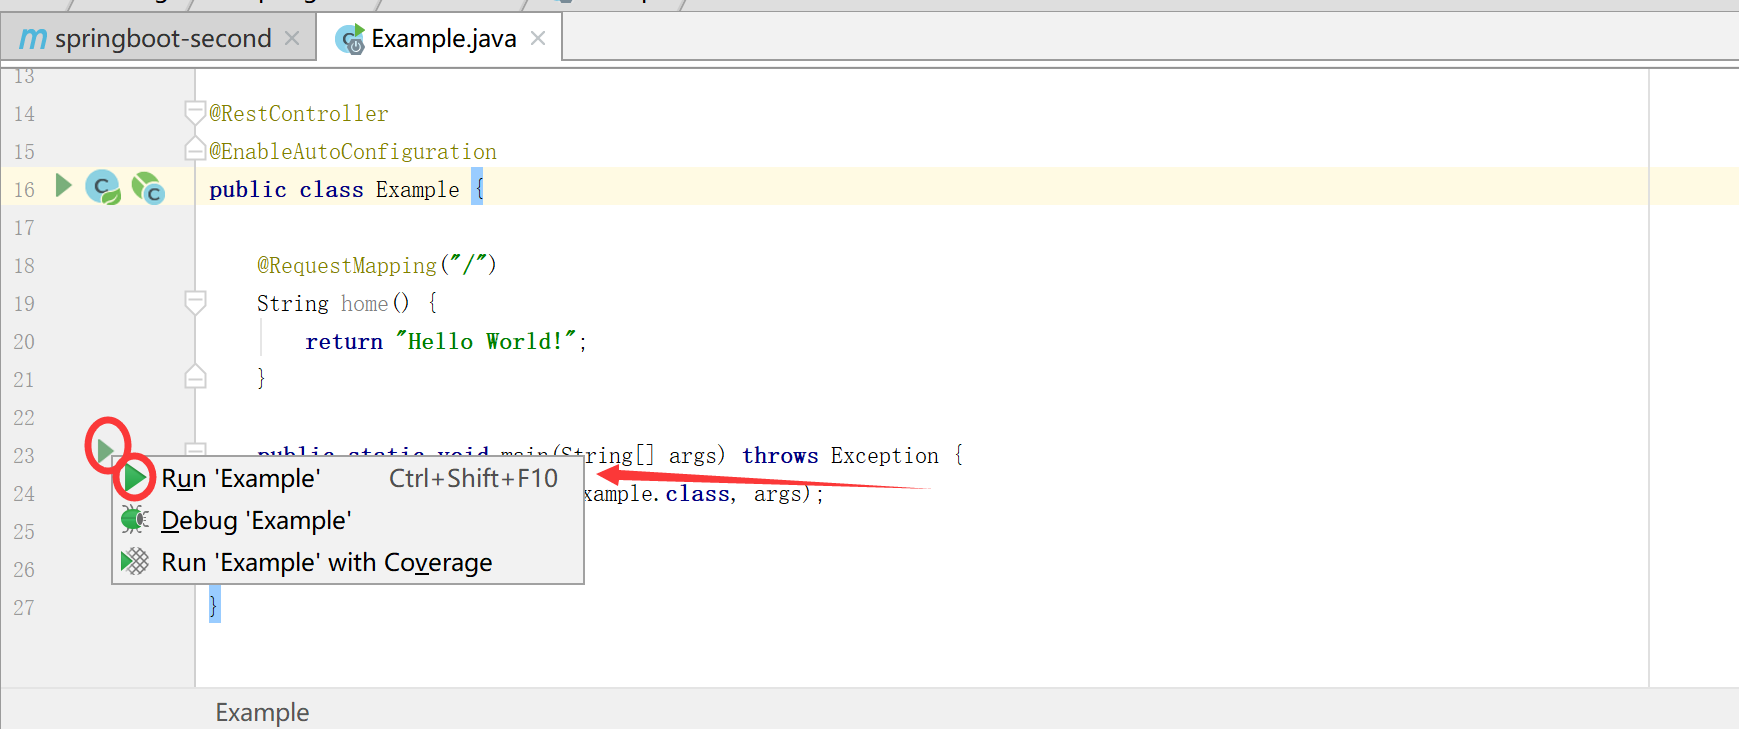
官方文档的例子,尝试启动springboot
import org.springframework.boot.*;
import org.springframework.boot.autoconfigure.*;
import org.springframework.stereotype.*;
import org.springframework.web.bind.annotation.*;

@RestController
@EnableAutoConfiguration
public class Example {

    @RequestMapping("/")
    String home() {
        return "Hello World!";
    }

    public static void main(String[] args) throws Exception {
        SpringApplication.run(Example.class, args);
    }

}
运行结果
- Starter POMs
1.Spring boot由大量starter组成,每个starter就是一个pom文件,里面包含必要的jar依赖,所以Starter主要是用来简化依赖
2.Spring boot支持需要引入其提供的父POM
<parent>
  <groupId>org.springframework.boot</groupId>
  <artifactId>spring-boot-starter-parent</artifactId>
  <version>1.5.10.RELEASE</version>
</parent>
父POM中主要做了两件事情
1.所有jar包的版本统一管理。
2.所有jar的依赖管理,其中包含springboot 给我们提供的很多的starter启动器。
PS:pom中引入的parent中的spring-boot-starter-parent,进入仓库可以看到对应的里面没有jar包,只有一个pom文件,这个pom文件中有个属性dependencyManagement 这是实现定义好的依赖jar包进行版本管理的管理器。实现都定义好了需要依赖的jar。
-
JavaMailSender是什么,怎么使用?-icode9专业技术文章分享11-15
-
JWT 用户校验学习:从入门到实践11-15
-
Nest学习:新手入门全面指南11-15
-
RestfulAPI学习:新手入门指南11-15
-
Server Component学习:入门教程与实践指南11-15
-
动态路由入门:新手必读指南11-15
-
JWT 用户校验入门:轻松掌握JWT认证基础11-15
-
Nest后端开发入门指南11-15
-
Nest后端开发入门教程11-15
-
RestfulAPI入门:新手快速上手指南11-15
-
Server Action入门:新手必读教程11-15
-
Server Component入门:新手必读教程11-15
-
抽离公共代码教程:简单易懂的入门指南11-15
-
动态路由教程:轻松入门与实战指南11-15
-
Restful API教程:入门与实践指南11-15


